Upgrade your car's looks with top-class vinyl wraps. Make your ride stand out on the road. Choose from a diverse range of vinyl wrap colors, textures, and designs.
Most people choose to outsource the car wrap application, adventurous car enthusiasts want to take the car wrapping project at hand. This expert car vinyl wrapping guide is for those car lovers who are thinking of starting the project of car wrapping in their garage.

1. Why Choose DIY Car Vinyl Wrap?
Going for DIY car vinyl wrap comes with many practical benefits:
-
Minimum Cost: Acquiring vinyl wrapping experts is a cost-intensive choice. With some learning and keen hand-to-eye coordination, you can save a considerable amount.
-
Customize: If you want to create your creative design with vinyl wraps, you should try your ideas confidently.
-
Unlock the New Skill: Learning a new and practical skill is always on the list of a creative car lover.
Explore the different vinyl finishes and their suitable application look
|
Finish Type |
Details |
Best Suited |
|
Matte |
Flat, no shine, gives a modern look |
Subtle & sophisticated look |
|
Gloss |
Shiny and reflective finish |
Sleek, high-gloss finish |
|
Metallic |
Shimmering effect with light reflection |
Flashy, high-end look |
|
Carbon Fiber |
Textured, high-performance look |
Racing cars, a sporty feel |
2. Required Tools & Materials for DIY Vinyl Project
You can jumpstart your DIY vinyl car wrap project with basic tools and materials. Explore the list of required DIY car vinyl wrap tool kit:
|
Item |
Details |
|
Vinyl Sheets |
The main material you’ll apply to your car. Comes in various finishes (matte, gloss, etc). |
|
Transfer Tape |
Helps position the vinyl on your car before sticking it down permanently. |
|
Application Tools |
A squeegee and a utility knife for smooth application and cutting. |
Additionally, you also need:
-
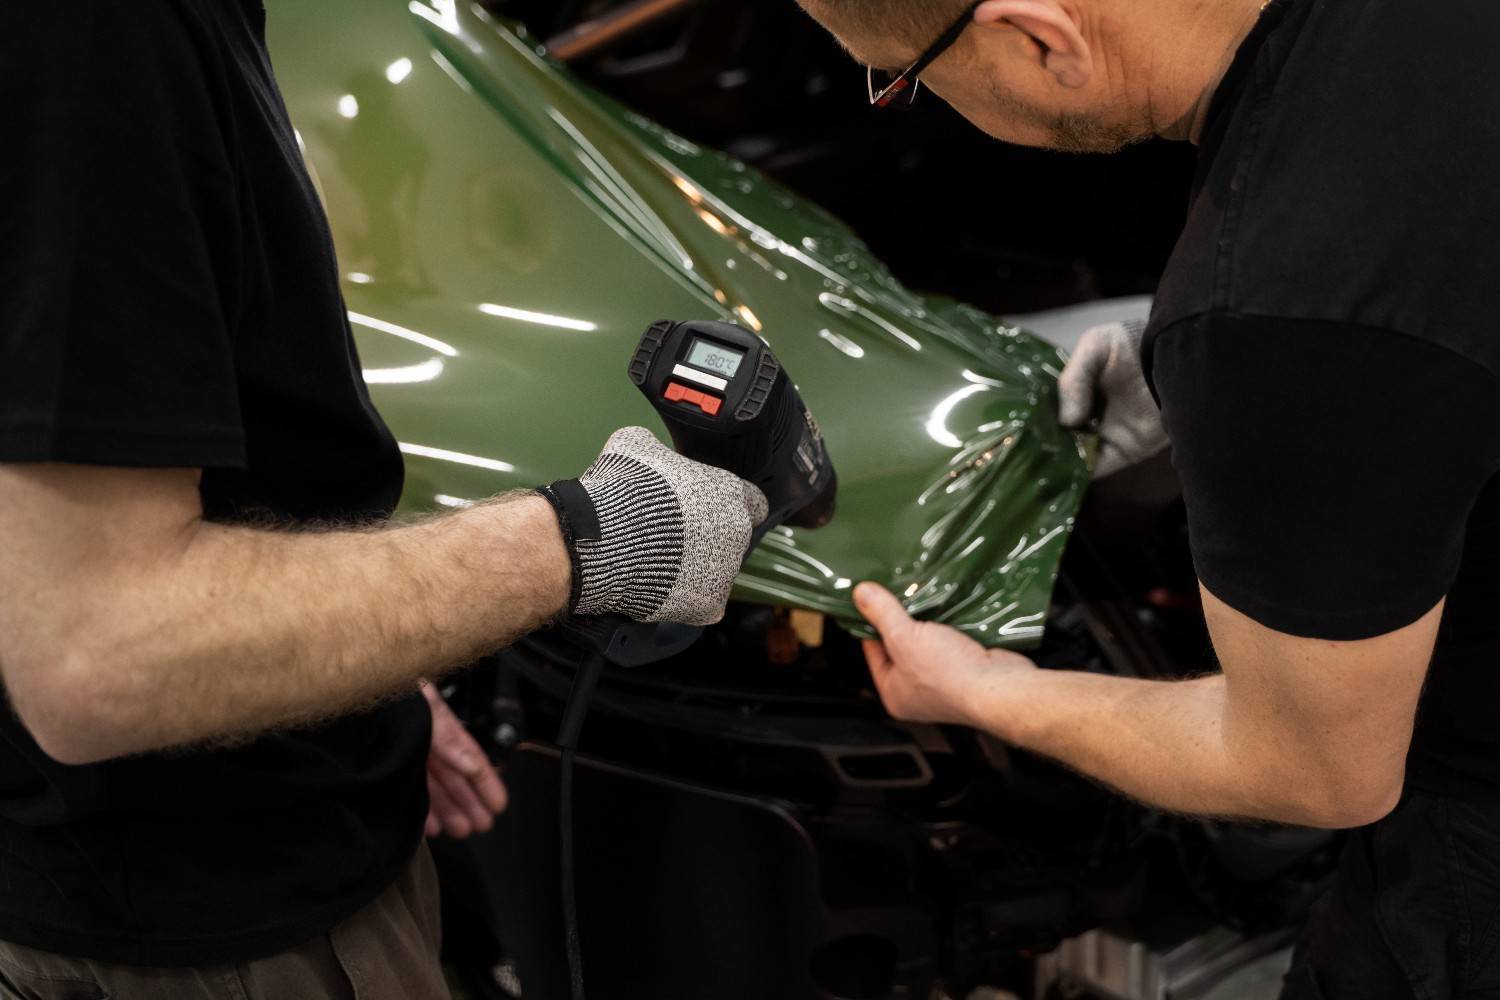
Heat Gun: For stretching and curve wrap vinyl application.
-
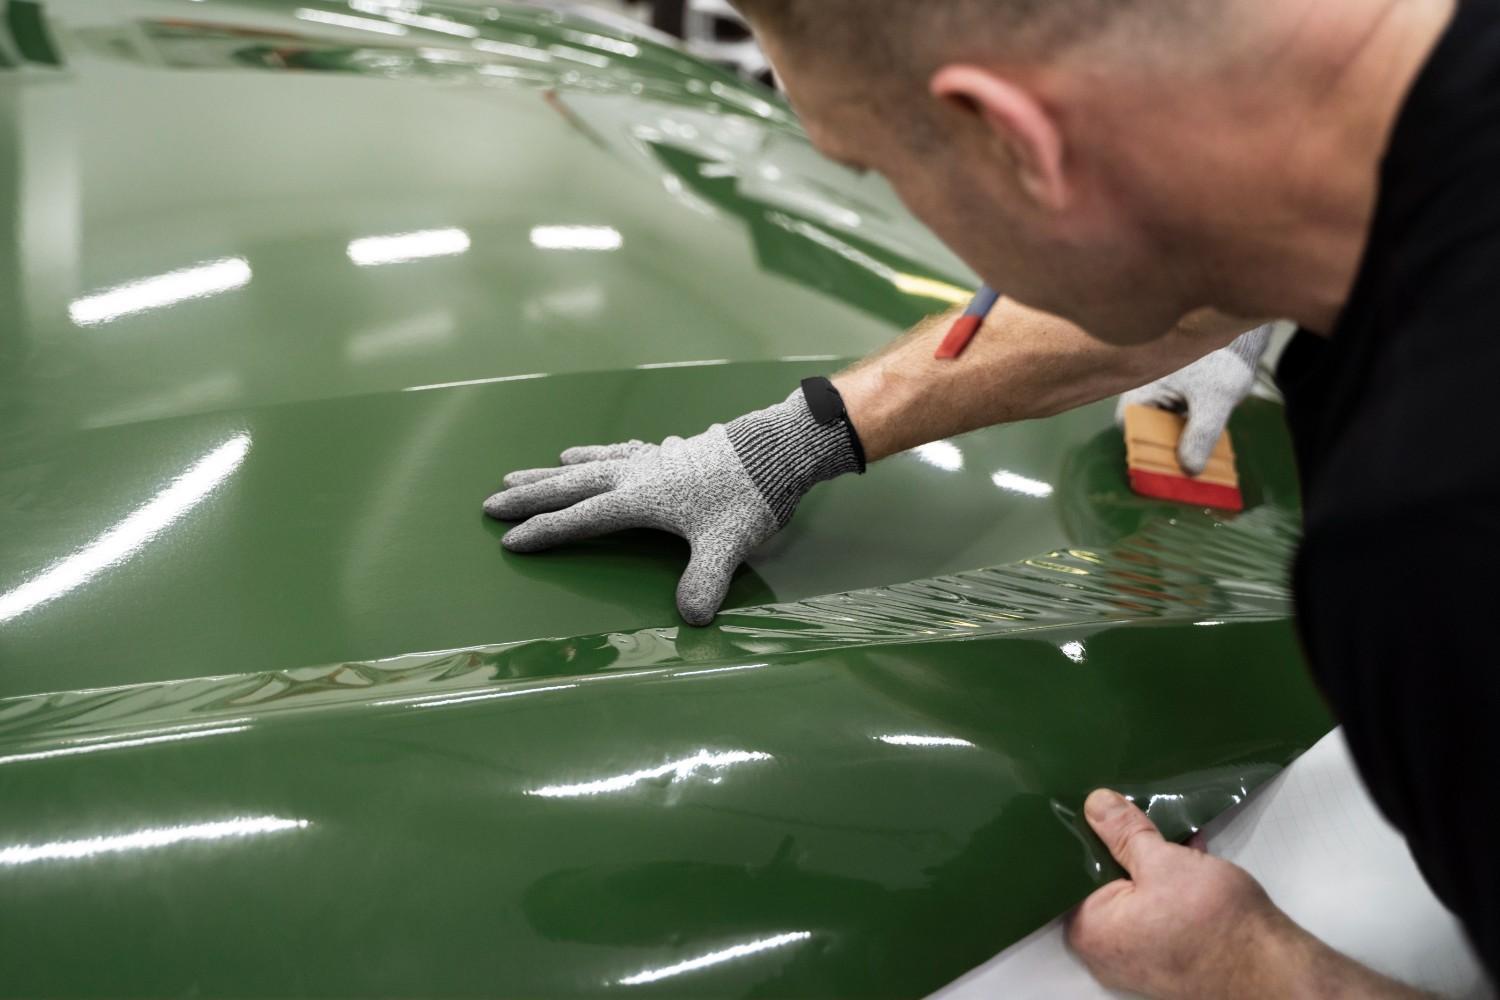
Squeegee: For smoothing out air bubbles.
-
Utility Knife: For precise cutting.
-
Microfiber Cloth: To clean your car before application.
You can complete the vinyl wrap application process with the above-mentioned tools.
3. A Step-by-Step Guide to DIY Car Wrapping
Continue reading to know more about starting and completing the DIY car wrapping project at home.
A. Prepare the Car’s Surface
-
Thorough Cleaning: For smooth vinyl application, thoroughly wash and dry the car to clean the dirt, grease, or other debris.
-
Clear Edges: For easy and clean vinyl wrapping, scratch all the thin corners for smooth application.
B. Accurate Measurement of the Wrap
-
Measure the Surface: Always measure the areas before starting the vinyl wrap application.
-
Cut the Vinyl: Using a utility knife carefully cut the vinyl to size. Always leave an extra margin around the edges, which you can trim later.
C. Applying the Vinyl Wrap
-
Start with Plain Areas: Select the flat surface to start like the car hood or roof. Always flat the wrap with a squeegee to eliminate all the bubbles.
-
Use the Heat Gun: Use a quality heat gun to heat the vinyl while wrapping around the edges and corners. Do not overheat the vinyl or you can damage the sheet.
-
Put Extra Effort Around Edges: For areas with curves, use the heat gun to mold the vinyl around the edges.

4. Common DIY Vinyl Wrapping Mistakes & How to Avoid Them
Everyone makes mistakes. Be mindful of the below-mentioned elements and you can minimize the chances of certain mistakes.
-
Bad Car Wash: Dirt particles left on the car surface can lead to poor adhesion and can create bubbles in the wrap.
-
Overstretching the Vinyl: You can make tears and even distort the color of your wrap if you stretch it too much.
-
Less Heat: Low heat can make it difficult to wrap the vinyl around the car's edges.
5. DIY vs. Professional Vinyl Wrapping Cost Comparison
Before deciding to start a DIY vinyl wrapping project, always compare the cost of both projects and get the full cost picture.
|
Option |
Average Cost |
Factors Affecting Cost |
|
DIY Vinyl Wrap |
$200 to $500 |
Cost of Materials, Tools, and Vinyl Sheets |
|
Professional Vinyl Wrap |
$1,500 to $5,000 |
Professional Labor, High-Quality Vinyl |
6. Takeaways & Final Tips
Learning and executing the car vinyl wrapping project can be fun and challenging depending on your preparation, application process, and tool usage. If you have the right knowledge, accurate tools, and some patience, you can enjoy the process of giving your car a new look.
Ready to transform your car? With the right DIY vinyl wrap car kit, you’ll be able to achieve professional-looking results. Happy wrapping! Explore our range of high-quality vinyl wraps today and start your DIY project!
