


Designing your own car wrap has become a massive trend in the UK. More drivers now prefer wraps over paint because they want personal and creative looks. The wrapping industry keeps growing as younger drivers chase individuality and new design styles. Experts estimate that the UK car customisation economy grows by 8% to 10% each year. Colour-change wraps and chrome finishes lead this steady expansion across the market. Creating a custom car wrap design is not just about picking colours. It is more about shaping a personal identity that represents style and confidence. The UK wrap culture is inspired by trending finishes and materials discussed in community wrap forums. These points typically include tips on how to design a car wrap that is creative, meaningful, and visually distinctive.
Step 1: Finding Inspiration and Defining Your Style
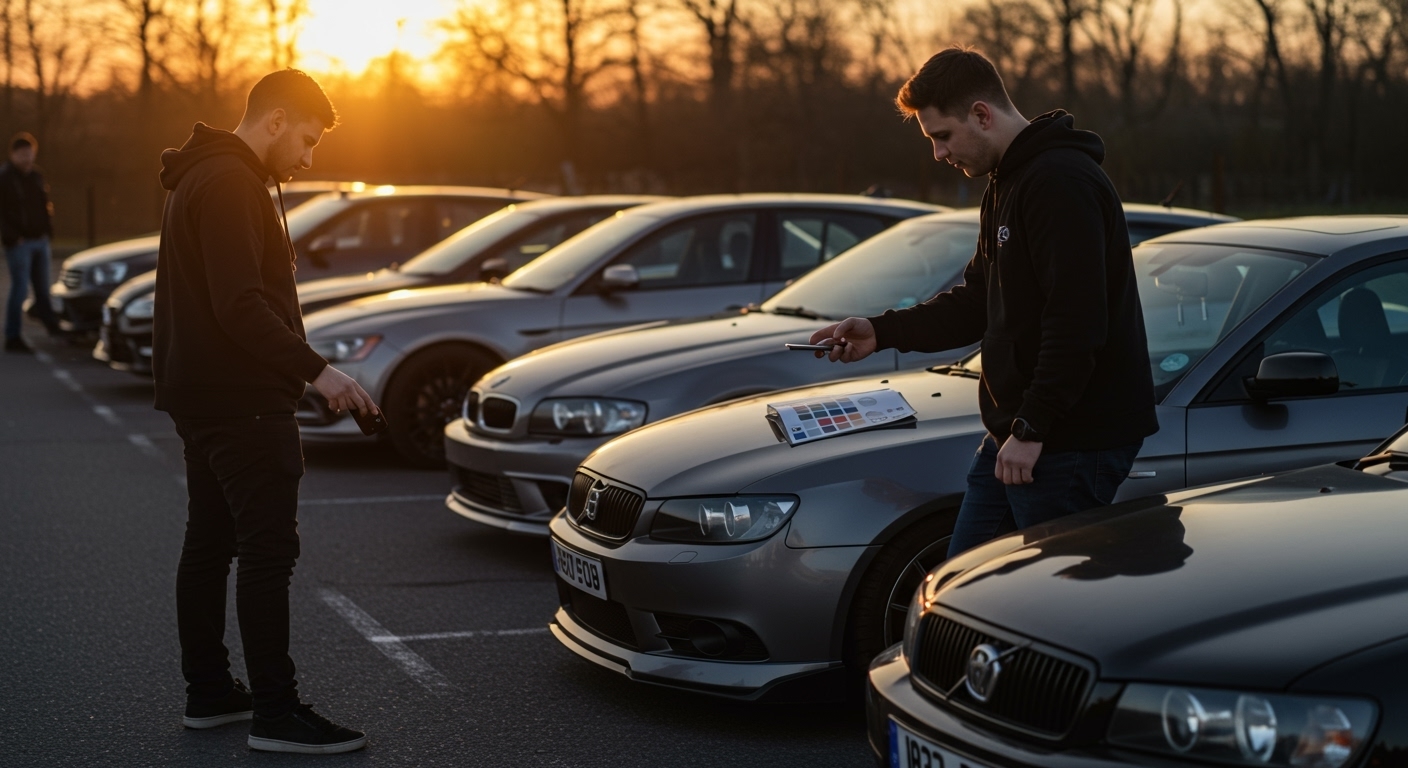
You must have inspiration before you begin your design. Individuals tend to visit social media platforms such as Instagram, TikTok, and online forums related to car wraps. You can find creative examples of wraps with dynamic combinations of tones and textures here. Many UK drivers follow stance communities and car meets for fresh style direction. You can also visit wrap galleries and colour sample boards to gather ideas. At this stage, you should explore different vinyl types for more inspiration. Browsing shop vinyl wrap collections gives a clear understanding of texture and shade behaviour. Filtering through shop-by-colour sections helps compare glossy, matte, or satin looks. Creating mood boards or saving favourite examples makes your concept easier to visualise. This early phase builds a foundation for your vehicle wrap design and overall artistic tone.
Step 2: Choosing Your Base Colours and Finishes
Once you define your vision, focus on the base colour. Choosing the right shade helps your car stand out confidently. UK installers say satin greens, matte greys, chrome tones, and colour-shift wraps are favourites. These finishes capture light differently, producing depth and texture in real driving conditions. Selecting from custom vinyl wrap ranges helps you find durable, stylish options. Most designers compare vinyl families to see how they behave across body panels. Some categories include:
- Chrome vinyl for reflective and metallic effects
- Color shift vinyl for changing tones under sunlight
- Matte vinyl for a soft, modern aesthetic
- Gloss vinyl for mirror-like brightness
- Satin vinyl for balanced smoothness
Each material influences how your wrap feels and looks on the road. Choosing the correct one defines how appealing your custom wraps appear after installation. Always visualise your final design under daylight or indoor lighting. That ensures harmony between colour tone and surface texture.
Step 3: Using Software for Vehicle Wrap Design
After selecting colours, it’s time to bring your vision to life digitally. Designing a wrap requires accurate mapping for every car panel. Software like Adobe Illustrator and CorelDRAW allows precise layout control. These programs support scalable, vector-based artwork without losing image clarity. Wrap designers often use professional car templates to ensure perfect sizing. This process prevents stretching or distortion during printing and application. UK wrap shops recommend using templates for the bonnet, doors, bumpers, and mirrors. Alignment accuracy ensures panels match perfectly once the vinyl is applied. Understanding how to design a vehicle wrap through software helps prevent costly mistakes. Correct measurements make door cuts, seams, and corners look clean and seamless. Using digital tools gives professional confidence even for self-designed projects.
Step 4: Incorporating Logos, Patterns, or Graphics
Visual identity grows stronger when creative elements are added thoughtfully. You can include logos, geometric patterns, sponsor graphics, or unique typography. Proper layout positioning matters to balance both sides of the vehicle. Designers usually focus on the bonnet, side doors, and rear panels as main visual areas. For more texture, experiment with structured films that create light movement. Many artists take inspiration from custom vehicle wraps with layered surfaces or metallic prints. Testing these before finalising helps see how shadows react to angles. This step combines design skill with visual hierarchy planning. When adding graphics, make sure they complement the base colour rather than clash with it. Using consistent colours and fonts produces a balanced final appearance.
Step 5: Working with a Professional for Printing
Once your design is complete, professional printing brings it to reality. UK wrap print houses use high-quality cast films for superior flexibility. Cast vinyl adapts easily to curves and edges compared to cheaper alternatives. Professionals also handle lamination to protect prints from UV rays and scratches. Lamination extends the life of custom car wraps exposed to the daily UK weather. It also enhances gloss or matte finishes, depending on your chosen style. Calendared vinyl may cost less but performs poorly on complex shapes. That’s why experienced installers recommend cast films for full wraps. Working with professionals ensures your design looks as clean as planned digitally. Precision printing and installation combine durability with flawless aesthetics.
Step 6: Preparing for Installation
Before installing, ensure your car is clean and dry. Dust or grease can prevent vinyl adhesion, causing air bubbles later. Professional installers use surface cleaners to remove residue and prepare smooth panels. It’s important to perform a test-fit before applying the final layers. This allows checking alignment and colour consistency across multiple panels. Heat guns are often used during application for curves and tight areas. Temperature control prevents overstretching while ensuring perfect form around contours. Installers also trim excess vinyl neatly along door gaps and edges. Patience during installation guarantees your vehicle wrap design remains sharp and professional-looking.

Step 7: Aftercare and Maintenance
After wrapping, maintenance keeps your car looking new for years. Scratches are avoided by hand washing using soft microfiber towels and mild soap. Use unpleasant chemicals that can soften adhesive layers as time goes on. Parking under shade minimises sunlight and UV damage exposure. Gloss finishes are kept glossy with wax-free cleaners, whereas matte wraps require special products. Regular inspections help detect small lifting edges or trapped moisture early. Maintaining custom vinyl wrap surfaces properly ensures lasting shine and long-term protection. Wraps typically last between five to seven years with consistent care. Clean upkeep also preserves resale value by keeping paint intact.
Conclusion
Designing a custom wrap follows several creative steps from start to finish. You begin with inspiration, then move to colour selection and digital planning. Precision during printing and installation makes results professional and long-lasting. This process explains why custom wraps remain so popular among UK drivers. Wrapping gives freedom of expression, unique aesthetics, and full control over visual identity. UK enthusiasts love how reversible and eco-friendly wrapping feels compared to permanent paint. With patience and planning, anyone can create a professional-level wrap design.
Ready to start your project? Explore TeckWrap UK’s range of vinyl materials for inspiration. Find finishes for matte, gloss, chrome, and colour-shift custom vinyl wrap designs. You need only professional assistance to create your own custom vehicle wraps. Contact professionals today and have expert help. Go down the road with bold, creative, and stylish custom car wraps.