Why Vinyl Wrapping is a Game-Changer for DIY Enthusiasts
Imagine giving your car a brand-new look without the hefty price tag of a professional paint job. Whether you want to protect your car’s exterior, personalize its appearance, or refresh your kitchen countertops, vinyl wrapping offers a cost-effective, customizable, and reversible solution.
Professional vinyl wrap applications can cost anywhere from $2,500 to $5,000, depending on the vehicle size and complexity. However, with the right tools, patience, and technique, you can achieve a professional-grade finish at a fraction of the cost.
This guide provides a detailed, step-by-step process for applying car vinyl wraps while avoiding common mistakes that could lead to peeling, bubbling, or misalignment. By the end, you'll feel confident enough to wrap your car, countertops, or furniture like a pro.

Essential Tools and Materials for a Flawless Vinyl Wrap
Before starting your project, gather the necessary tools to ensure precision and durability. Here’s what you’ll need:
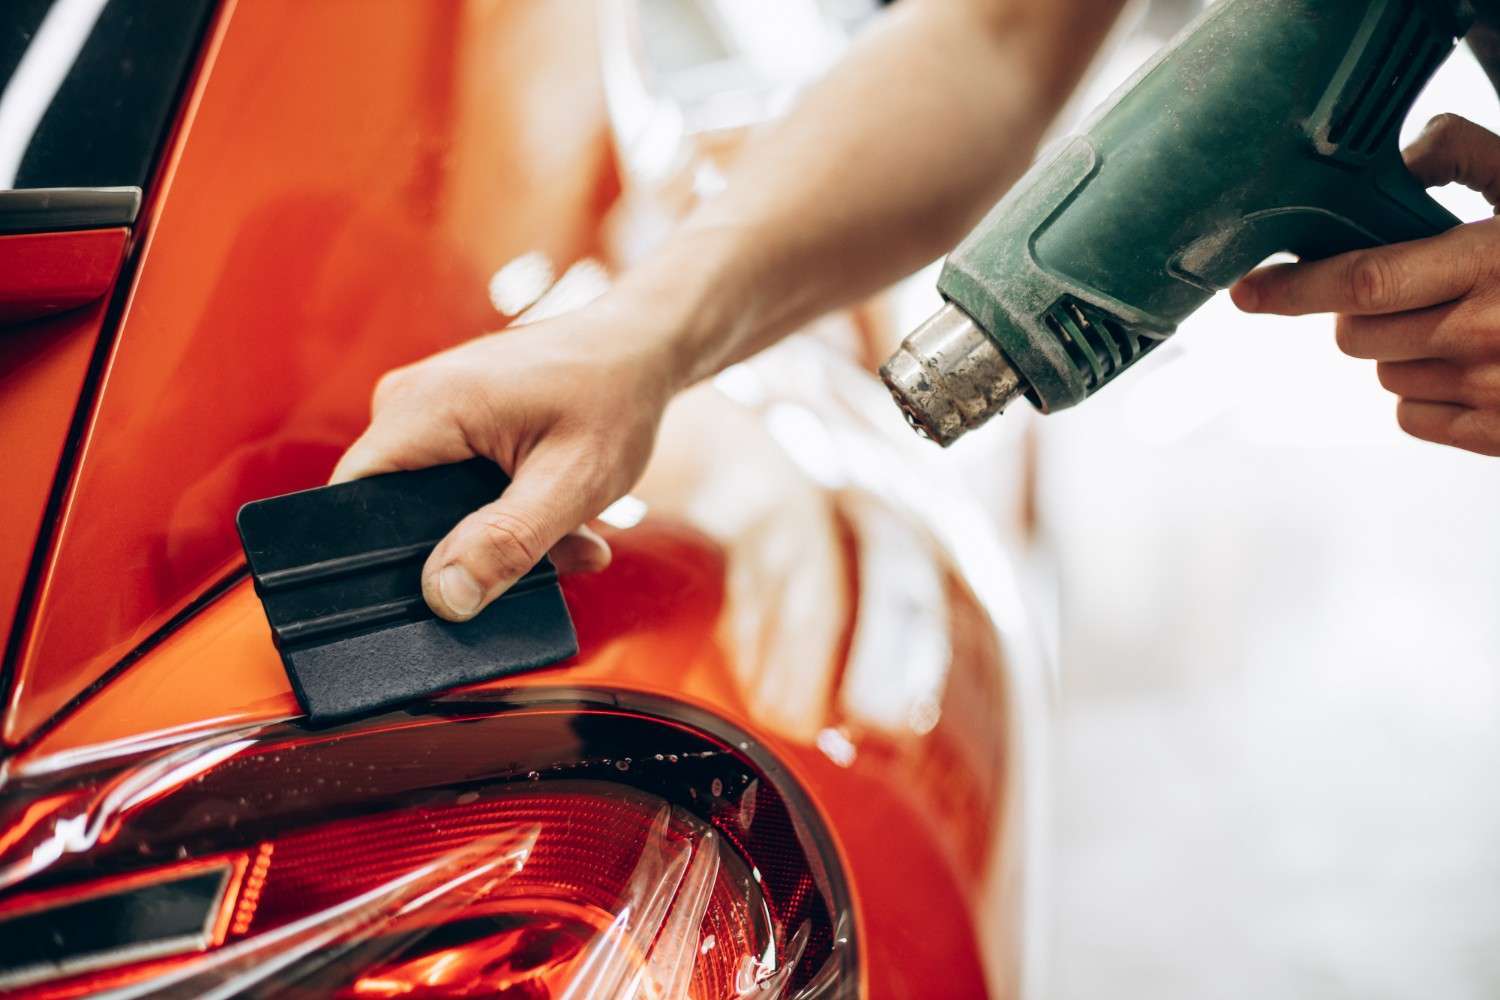
• Heat Gun: Softens the vinyl, allowing it to stretch and conform to curves.
• Squeegee: Removes air bubbles and ensures smooth application.
• Precision Cutting Blade: Trims excess vinyl for clean edges.
• Surface Cleaner (Isopropyl Alcohol-based): Eliminates dirt, grease, and dust for proper adhesion.
• Measuring Tape: Ensures accurate vinyl cutting and alignment.
• Gloves: Prevents fingerprints and enhances grip while handling vinyl.
Pro Tip: Work in a dust-free, temperature-controlled environment to prevent debris from getting trapped under the wrap.
Step-by-Step Guide: How to Apply Vinyl Wrap on Your Car
Step 1: Measure and Cut the Vinyl
-
Measure the surface you want to wrap, ensuring you add a few extra inches to accommodate any adjustments.
-
If wrapping a car hood or roof, cut the vinyl slightly larger than the area to avoid under sizing mistakes.
Example: Many DIYers make the mistake of cutting the vinyl too small. Always measure twice and cut once!
Step 2: Preparing the Surface for Vinyl Wrapping
-
Thoroughly clean the surface using an alcohol-based cleaner to remove any grease or debris.
-
Inspect the area for scratches or dents—imperfections may show through the wrap.
-
Use masking tape to mark alignment points before application.
Common Mistake: Skipping surface preparation can lead to poor adhesion and premature peeling.
Step 3: Applying the Vinyl Wrap
-
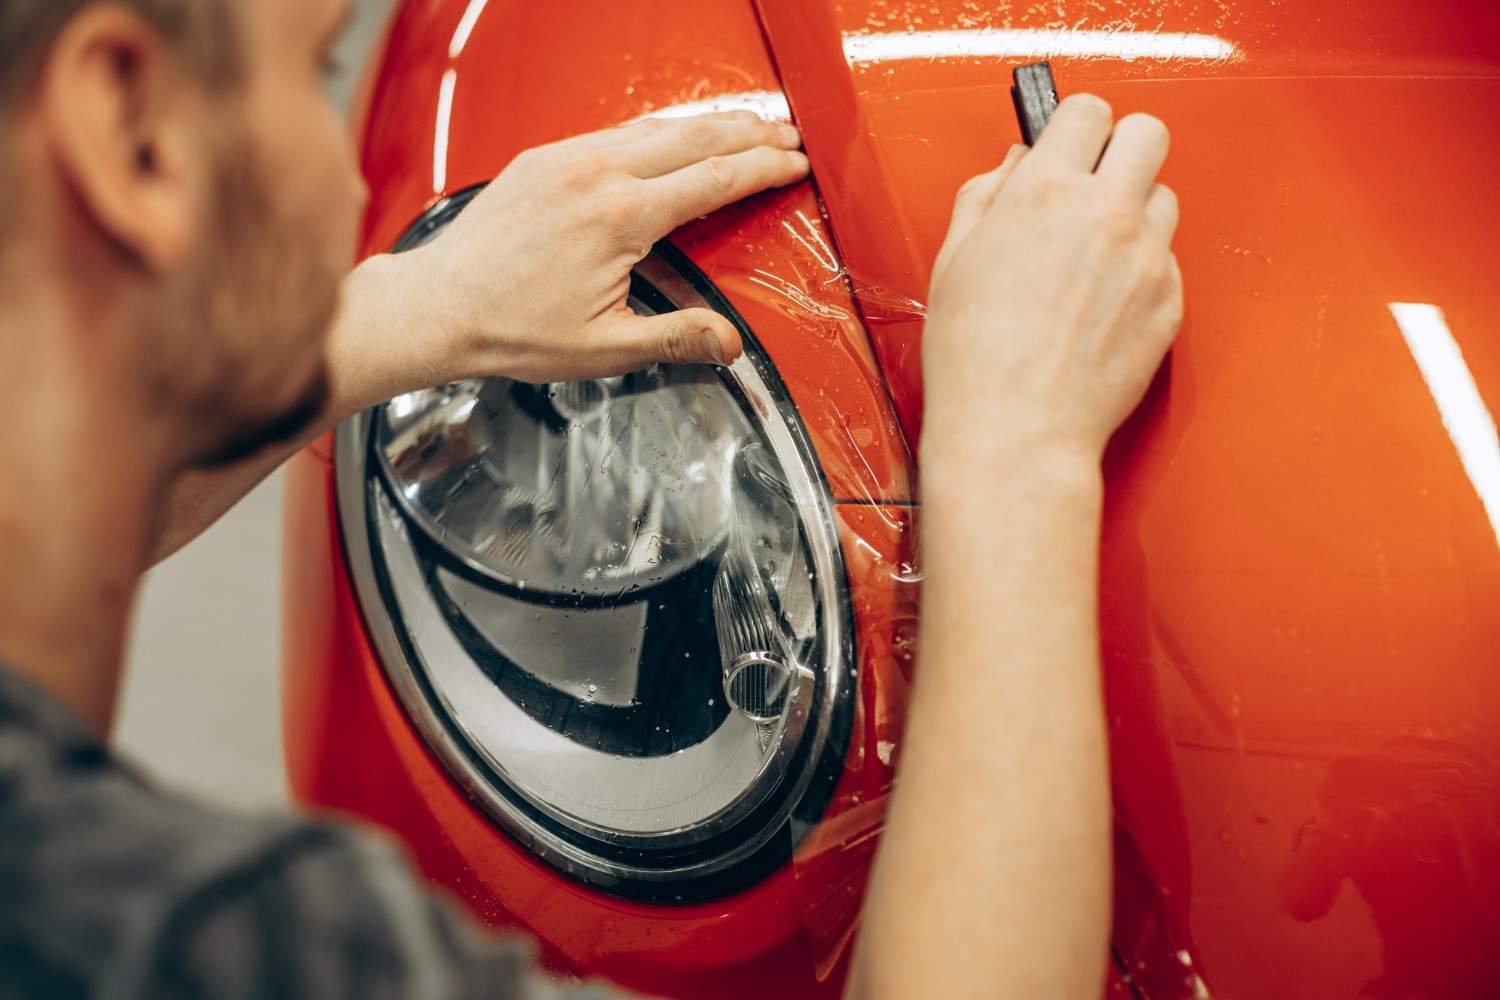
Start from one side, peeling the backing off gradually while using a squeegee to press the vinyl down.
-
Use a heat gun sparingly—too much heat can overstretch or damage the wrap.
-
If wrinkles or bubbles appear, gently lift and reapply before securing the vinyl in place.
Pro Tip: Work in small sections and apply consistent pressure with the squeegee to avoid air pockets.
Step 4: Trimming and Finishing
-
Use a sharp cutting blade to trim excess vinyl along the edges.
-
Apply gentle heat to the edges to seal the wrap and improve adhesion.
-
Press firmly to ensure durability and prevent lifting.
Final Step: Allow at least 48 hours before washing your car to let the vinyl fully adhere.
Avoid These Common Mistakes for a Professional Finish
Even experienced DIYers face challenges when applying vinyl wraps. Here’s how to avoid costly errors:
Skipping Surface Prep → Results in peeling within weeks. Always clean thoroughly.
Overheating the Vinyl → Causes distortion and weakens adhesion. Apply heat gradually.
Ignoring Air Bubbles → Ruins the smooth finish. Always use a squeegee.
Cutting Too Quickly → Leads to uneven edges. Carefully align before trimming.
Using Cheap Vinyl → Results in poor stretchability and a shorter lifespan. Always invest in high-quality materials.
Did You Know? A properly applied car vinyl wrap can last 5-7 years with proper care.

Is DIY Vinyl Wrapping Worth It? The Cost vs. Professional Installation
|
Option |
DIY Vinyl Wrapping |
Professional Installation |
|
Average Cost |
$300 – $1,000 |
$2,500 – $5,000 |
|
Time Required |
8 – 12 hours |
1 – 3 days |
|
Skill Level Needed |
Moderate |
Expert |
|
Customization |
High |
High |
|
Durability |
5–7 years (Proper Care) |
7–10 years |
Ready to Wrap Like a Pro?
Vinyl wrapping is an exciting, budget-friendly way to personalize your car, kitchen, or furniture while saving on professional costs.
• Practice on smaller surfaces before tackling a full vehicle wrap.
• Invest in quality materials for durability and a high-end finish.
• Work in a controlled environment to avoid dust and debris interference.
• Follow each step carefully to ensure a long-lasting wrap.
Get Started Today! Explore our premium vinyl wraps for a seamless and stunning finish. Whether you’re updating your car, countertops, or furniture, the right technique and materials will make all the difference.
