

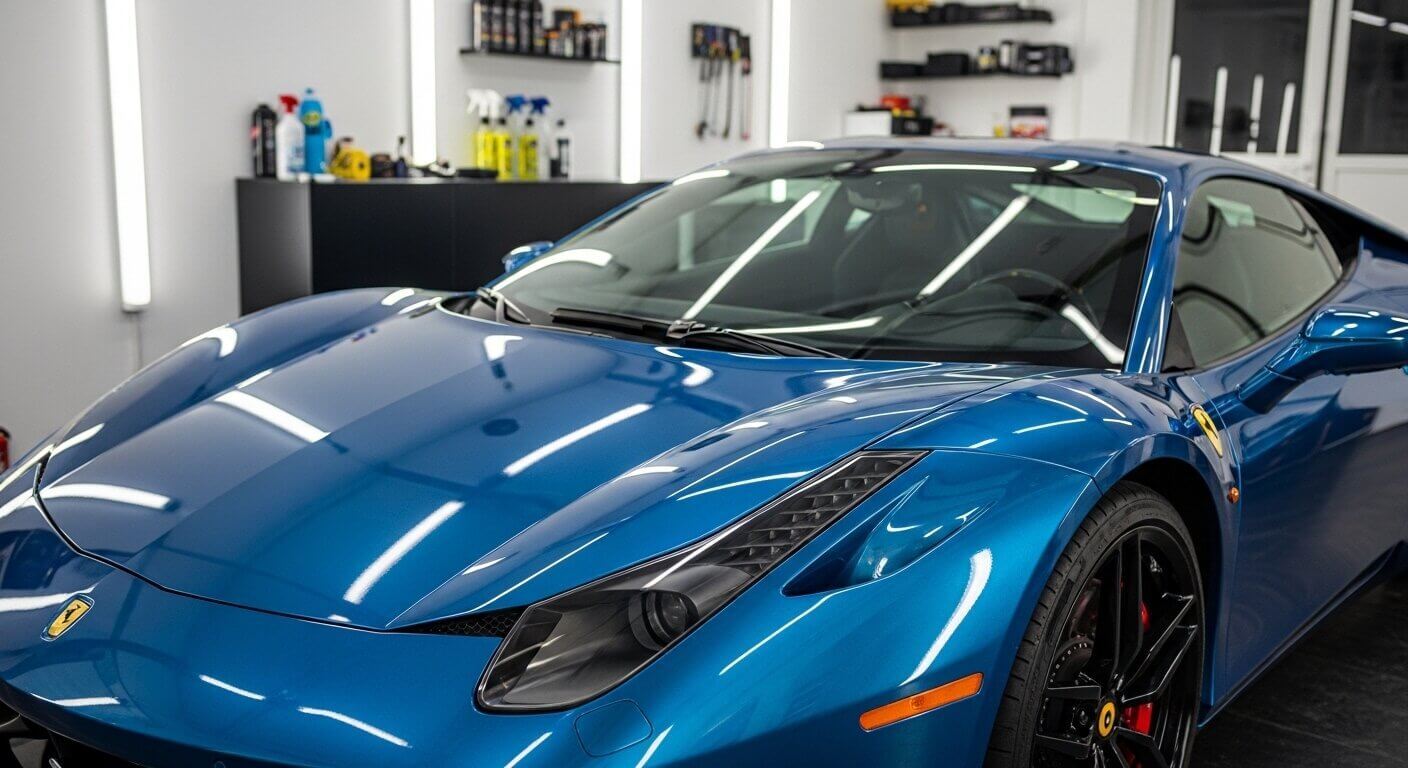
Vinyl wraps transform any vehicle into a shiny clean-looking one quickly. Problems with air bubbles in vinyl wrap often occur especially among beginners. These bubbles form when trapped air stays between the film and the surface layers.
This problem affects appearance and reduces wrap durability over time significantly. In the United Kingdom, vinyl wrapping demand grows due to styling trends. More drivers now choose wraps instead of expensive paint resprays regularly.
DIY wrapping also increases, leading to more vinyl wrap installation mistakes overall. Most bubbles are fixable using simple tools and correct techniques easily. You can learn to remove air bubbles without replacing the entire wrap.
How Air Bubbles Form in Vinyl Wraps
Air bubbles form mainly due to poor handling and uneven pressure application. These vinyl wrap bubbles often appear during quick or careless installation work. Understanding causes helps reduce errors and improve final wrap appearance quality.
What Causes Air Bubbles in Vinyl Wraps?
Air gets trapped when installers apply vinyl without even pressure distribution. Adhesive would not stick to a surface due to dust, grease or water. A fast application often creates air pockets that stay visible under film.
Modern wraps include air channels, but poor handling still causes bubbles. These issues often appear when beginners rush through installation steps quickly.
Are Air Bubbles a Serious Problem?
The smaller bubbles are more cosmetic and they can be easily rectified. Possibly large bubbles will reduce adhesion and cause peeling in the long-run. Early repair prevents damage, particularly on vehicle parts, which are frequently touched.
Most bubbles are repairable, but deep creases may need reapplication sometimes. Overlooking bubbles can result in wrap damage and a bad finish in the long run.
Common Mistakes That Lead to Bubbles
Many users rush the installation and fail to smooth the vinyl properly during application. Using poor tools reduces control and creates uneven pressure on vinyl surfaces. Lack of heat control also increases bubble formation during the installation process.
These mistakes appear often in beginner projects and DIY wrap attempts. Learning correct methods helps avoid repeated errors and improves results.
Tools You Need to Fix Air Bubbles
Using proper tools makes DIY vinyl wrap repair easier and more effective. These tools help you safely fix vinyl wrap without damaging the material's surface. Both beginners and professionals rely on similar tools for bubble removal tasks.
Essential Tools for Bubble Removal
You need basic tools to handle most bubble problems effectively.
- Squeegee with soft felt edge for smooth pressure application
- Heat gun or hair dryer for controlled heating and flexibility
- Pin or needle for releasing trapped air from stubborn bubbles
- Microfiber cloth for cleaning and smoothing the vinyl surface
- Isopropyl alcohol for proper cleaning before and after fixing
Heat tools support heat gun vinyl fix by softening adhesive layers properly. They improve flexibility and help air escape through vinyl channels easily.
Optional Tools for Better Results
Some tools improve quality and reduce handling marks during the fixing process.
- Knifeless tape for safe trimming without damaging vinyl edges
- Wrap gloves for better grip and smooth handling during adjustments
These tools help professionals achieve cleaner and more precise final finishes. They also minimise fingerprints and enhance control whenever repositioning the vinyl.
Step-by-Step Guide to Removing Air Bubbles
Proper precautions should be observed to remove air bubbles. This will give a clean, smooth and bubble free vinyl wrap finish. All of these steps are significant towards an improved final wrap quality.
Step 1: Identify the Type and Size of Bubble
Before starting repair work, check that the bubbles are small or large. Small bubbles usually come from minor trapped air during the installation process. Large bubbles often result from uneven pressure or missed application areas.
Understanding bubble type helps choose the right fixing method quickly. The step will help in avoiding damage and maintaining a perfect handling of the repair process.
Step 2: Apply Gentle Heat to the Area
Apply gentle heat using a dryer or heat gun carefully. Vinyl is softened by heat and becomes easy to work with. It allows trapped air to move toward the edges without resistance.
This step supports better smoothing and reduces the risk of surface damage. Professionals always use controlled heat for safe vinyl adjustments.
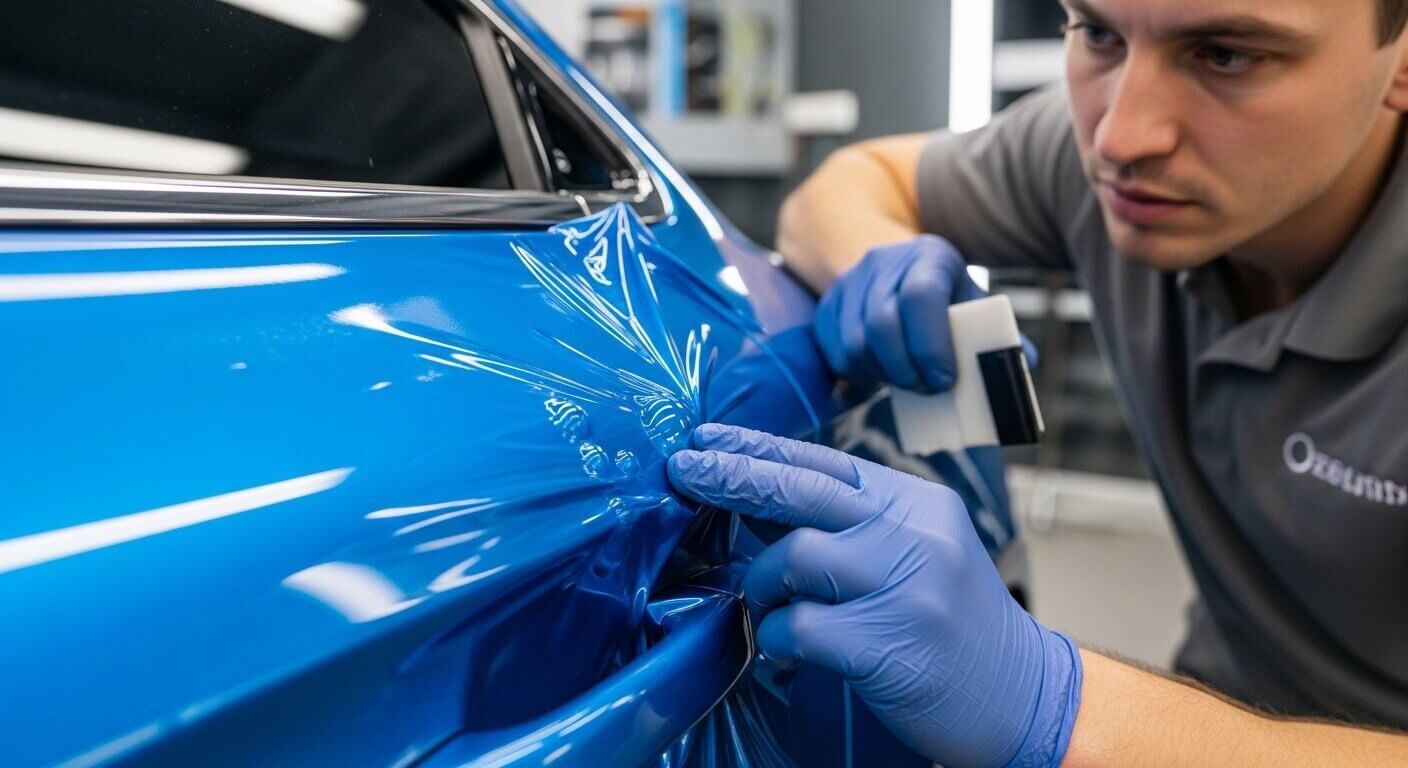
Step 3: Push Air Out with a Squeegee
Start pressing from the center of the bubble using steady pressure. Move outward slowly to guide trapped air toward the vinyl edges. Use smooth strokes to avoid scratches or damage to the film surface.
Consistent pressure helps release air through built-in channels effectively. This step is key to learning how to smooth vinyl wrap properly.
Step 4: Use a Pin for Stubborn Bubbles
A tiny hole is made in the bubble with a small pin. This enables the escape of trapped air with the application of gentle pressure. Do not make large holes to avoid visible marks on vinyl surfaces.
This method works well for bubbles that cannot move outward easily. Many professionals use this trick during detailed wrap finishing work.
Step 5: Reheat and Smooth the Surface
Apply heat again to seal the adhesive after removing trapped air. Smooth the area using a squeegee to restore the original vinyl finish properly. This ensures strong bonding between the film and the vehicle surface layer.
Reheating prevents bubbles from returning and improves long-term durability. It also helps maintain a clean and professional wrap appearance overall.
Step 6: Final Inspection and Touch-Up
Examine all the surfaces under bright conditions to detect bubbles. Inspect edges to ensure proper adhesion and smooth finishing quality. Touch up any remaining spots using heat and gentle pressure again.
This final step ensures a uniform and clean wrap across the vehicle surface. A careful check improves overall results and reduces future repair needs.
Preventing Air Bubbles During Installation
Prevention is always better than fixing air bubbles in vinyl wrap later. Good preparation reduces errors and ensures smoother installation results overall. Proper methods help create a clean and long-lasting wrap finish easily.
Proper Surface Preparation Is Key
Wipe the surface with alcohol all the time to ensure the surface is clean. Ensure that the surface is dry and proceed to apply the vinyl film. Even small particles can trap air and cause visible bubble issues.
Apply Vinyl Slowly and Evenly
Apply vinyl slowly and avoid rushing through the installation process steps. Work in small sections to maintain even pressure across the surface area. Controlled application reduces air trapping and improves adhesion quality significantly.
Use the Right Tools and Techniques
The squeegee must be at the right angle to apply pressure in a smooth and even manner. Use a constant pressure to put air out when placing the vinyl. Good technique plays a major role in reducing bubble formation issues.
Ideal Temperature for Installation
Avoid installing vinyl in very cold or very hot weather conditions. Moderate temperature keeps vinyl flexible and adhesive working properly. This improves handling and reduces the chances of air bubble formation significantly.
Choosing High-Quality Vinyl Matters
High-quality vinyl offers better adhesive and easier handling during installation. Advanced films include channels that help create bubble-free vinyl wrap results. The UK market continues to grow as better films improve installation success rates.
Conclusion: Fix Air Bubbles to Keep Your Wrap Perfect
Fixing bubbles becomes simple when you understand proper tools and techniques. Most users can handle DIY vinyl wrap repair with patience and practice. Confidence grows as you learn to manage small and large bubble issues.
Avoiding vinyl wrap installation mistakes helps achieve better long-term results. Careful preparation and steady application reduce problems during installation work. Good habits improve wrap durability and keep your vehicle looking professional.
Keep learning and practicing to achieve smooth and perfect wrap finishes.