

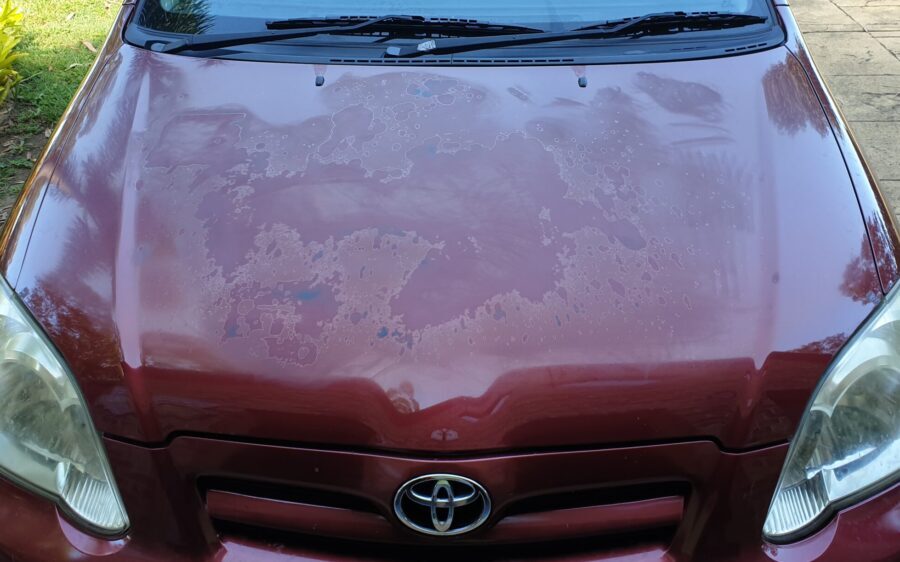
Have you ever looked at your car and noticed your wrap is faded and cracked? It’s frustrating to see your once-stylish wrap look old and dry. Over time, sunlight can cause your vinyl wrap to become hard and brittle. This kind of sun-damaged vinyl car wrap doesn't just ruin the look; it sticks tight and is tough to peel.
Starting this process may bring concerns to your mind, but safety tips and tricks exist to help you. The proper tools, alongside patience and basic steps, will let you remove it. This article serves as a step-by-step guide for removing the wrap without damaging your paint surface.
Let’s break it down together. We’ll take you through the full vinyl wrap removal process step-by-step so your car looks neat again. Removing a sun-baked vinyl wrap may take time, but the results are worth the effort.
Why You Should Remove Sun Baked Vinyl Wrap
Old wraps do more than just look bad, they can also damage your vehicle’s finish. A cracked wrap removal job done late can leave behind hardened glue and paint damage. If left in the sun for extended periods, the wrap will fade, dry, and become harder to remove.
Peeling off dry, damaged wrap is not only about beauty, but it’s about protecting the car. Removing old car wrap also improves the resale value and shows that you care for your vehicle. A smooth, clean surface also means you’re ready for a brand-new wrap design.
So, why wait? Learning the best way to remove vinyl wrap saves you money and stress. It keeps your car looking fresh and helps you prepare for a new look easily.
Tools You’ll Need
Before starting the process, collect the right car wrap removal tools for safe removal. These tools make the job easier, faster, and much safer for your car’s surface.
Here’s what you need:
- Heat gun or hair dryer for softening the vinyl
- Plastic scraper or wrap removal tool for gentle peeling
- Car wrap adhesive remover (citrus-based removers are safe and effective)
- Microfiber towels for cleaning without scratching
- Isopropyl alcohol for a final, clean finish
With these tools, the wrap removal becomes quicker and cleaner. They help avoid scratches, glue stains, and frustration while doing the job.
Step-by-Step Guide to Removing Sun Baked Vinyl Wrap
Let’s now go through the actual wrap removal process from start to finish. This step-by-step guide ensures you protect your paint and avoid damage while removing the wrap.
Step 1: Start with Gentle Heating
Start warming the wrap material with a heat gun or a standard hair dryer. Proceed by gliding the tool across the surface while avoiding prolonged concentration in one area. Steady heat application softens the wrap while weakening the adhesive below.
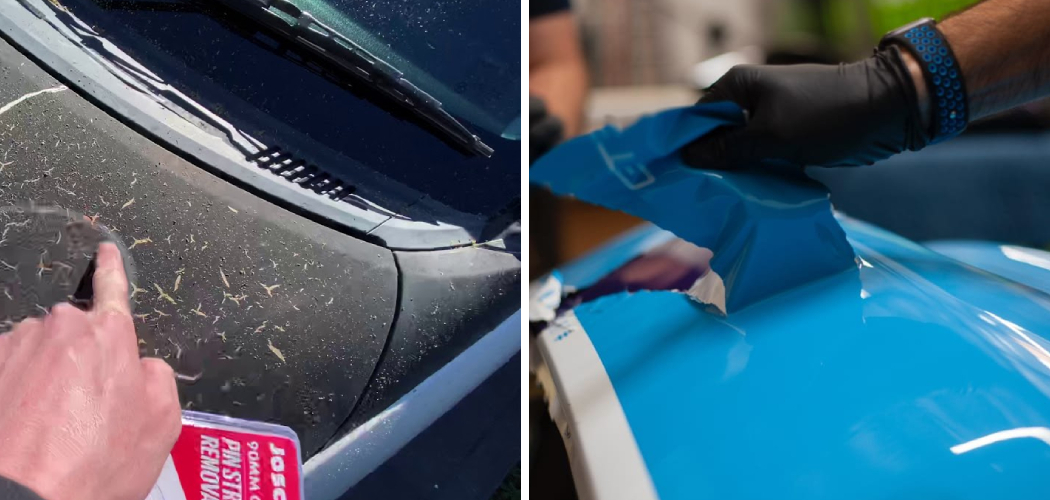
Step 2: Begin Peeling from the Edges
Once warm, use your fingers or a plastic scraper to lift a corner of the wrap. Start peeling off the wrap at a 45-degree angle and pull slowly. Do not yank or pull too fast, as it can tear into small pieces. Be patient and stay steady to prevent damage.
Step 3: Remove Leftover Adhesive and Bits
After peeling off most of the wrap, there will be sticky residue left on the car. Apply your car wrap adhesive remover to the area and wait for a few minutes. Gently rub with a microfiber towel until all glue is gone. For final cleaning, use isopropyl alcohol to clear remaining marks. If you’re wondering how to remove adhesive from a car without damage, this is the safe way.
By following these steps, removing old car wrap becomes a smooth and safe task.
Pro Tips for Easier Wrap Removal
Removing a sun-baked wrap can feel difficult, especially if it’s old and damaged. These tips help make the job quicker and protect your paint in the process.
- Always work indoors or in a shaded spot to control heat better
- Wraps older than 5 years are harder to peel, so be extra careful and patient
- Never use metal scrapers, plastic tools prevent scratches during the wrap removal
- Avoid rushing, slow movements reduce the chance of tearing or paint damage
These vinyl wrap removal tips make the process easier, cleaner, and much safer for your vehicle.
Precautions to Extend Wrap Life in the Future
You can keep your next vinyl wrap looking fresh for longer with just a few simple steps. Sunlight, dirt, and chemicals are the biggest causes of vinyl wrap damage and repair needs. Taking small actions now helps avoid big removal jobs later.
Here’s how to protect your wrap:
- Park your car in shaded areas or use a car cover to block UV rays
- Wash your wrap often with gentle soap and avoid strong cleaners or brushes
- Apply a ceramic coating over the vinyl to add UV and weather protection
- Always use high-quality wraps from trusted suppliers to avoid early damage
These habits help reduce vinyl wrap removal costs in the long run by keeping wraps fresh longer.
Final Words
Removing sun-dried vinyl wraps presents challenges, but proper techniques can prevent panic. Taking your time, along with precise tool use and methodical execution, will lead to successful removal. Correct execution results in a smooth vehicle surface that stands ready for your next design change. Whether you’re planning to repaint or rewrap, removing the old vinyl is always the first step.
Ready to give your car a fresh new look? Start by removing that old wrap the right way, shop quality tools and wraps with us today!