


The front of your car meets the world before anything else. Every journey exposes the bumper to grit, stones, weather, and careless parking moments. Many UK drivers now look beyond paint for smarter protection solutions. Vinyl wrapping is stylish and flexible as well as protective, but not a permanent commitment. Bumpers remain the most common entry point into vehicle wrapping projects. Their shape challenges beginners while rewarding patience and careful technique. Learning bumper wrapping builds confidence for larger future projects. A wrapped bumper transforms the look of the car and keeps the original factory finish intact. Careful preparation makes results appear to be clean, sharp and professionally installed. The right way of doing things minimises the frustration and waste of materials. This guide focuses on practical steps anyone can follow with care. Simple methods and steady progress lead to impressive results. A professional finish depends more on technique than expensive equipment. With time and focus, anyone can master bumper wrapping skills.
Why Wrap Your Car’s Bumper?
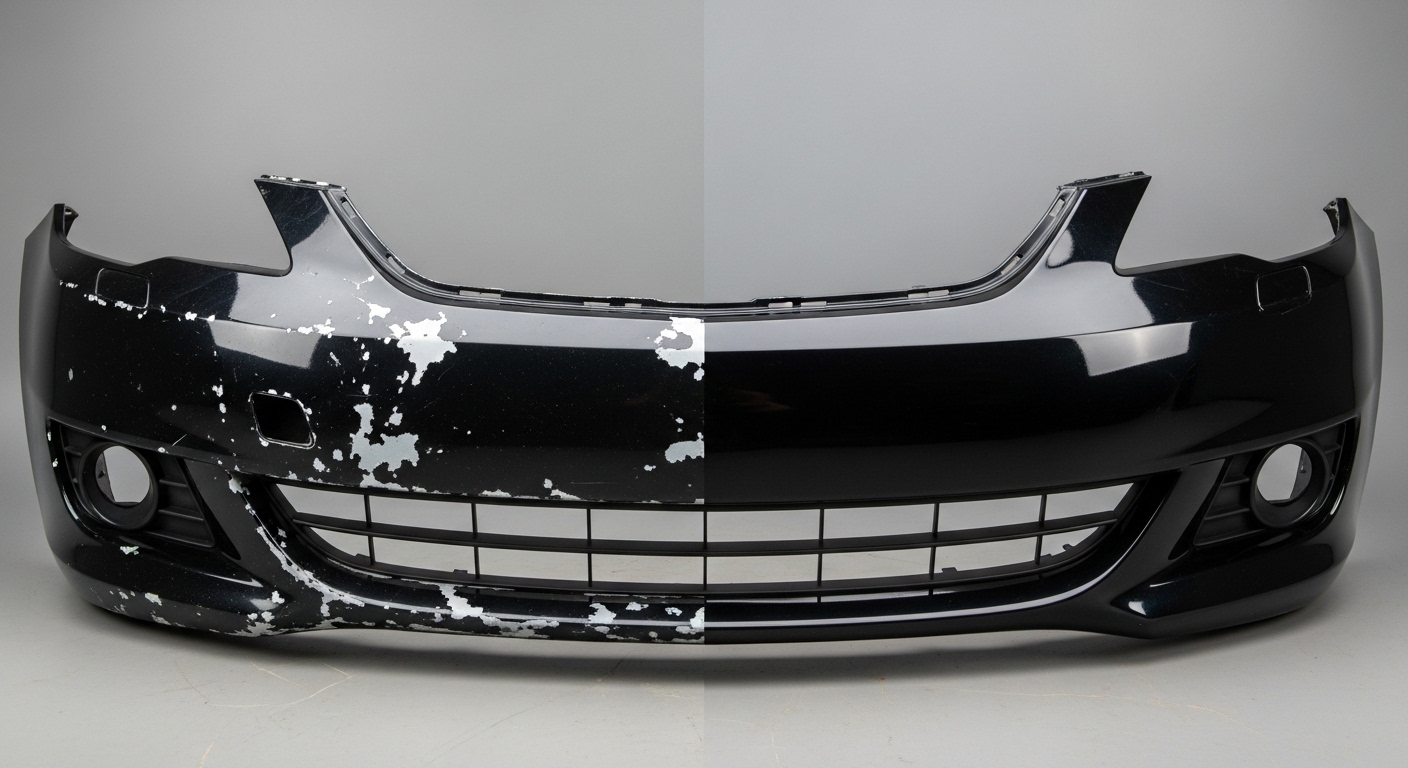
Bumpers face constant impact from road debris and daily driving conditions. Motorway stones frequently chip exposed paint during high speed travel. Car parks create risks from trolleys, low walls, and careless doors. UK weather adds rain, grit, and salt that slowly damage painted surfaces. Vinyl wrapping adds a protective barrier against everyday surface damage. Drivers appreciate protection that does not permanently change original paintwork. A wrapped bumper keeps the vehicle looking newer for longer periods. Visual upgrades also matter to owners who value a fresh appearance. Custom colours and finishes allow personal expression without repainting. This approach supports long-term ownership without sacrificing resale value. Many drivers choose wraps when keeping vehicles beyond five years. Protection-focused upgrades increasingly influence vehicle care decisions. Bumper wrapping blends appearance improvement with practical surface defense. It suits drivers wanting subtle enhancement rather than dramatic modification. Smart choices today prevent costly paint repairs later.
Materials and Tools Needed for Bumper Wrap
Choosing proper materials reduces errors and improves installation confidence. Correct tools help achieve smoother finishes around complex bumper curves. Following trusted installation guidance prevents early lifting and bubbling. As much as application techniques, preparation tools are important. Clean surfaces enhance adhesion and minimise the long-term failure risks. Superior equipment helps in steady progress, avoiding undue setbacks. Careful preparation always saves time during installation stages.
Professional results begin with the correct tools and suitable materials. Quality film designed for automotive use handles curves and heat effectively. Avoid cheap films that tear, fade, or lift prematurely. Reliable tools improve control during the application and finishing stages.
- Quality vinyl film suited for automotive bumper surfaces
- Heat gun offering adjustable and controlled temperature settings
- Felt-edge squeegees to protect film during pressure application
- Sharp cutting blades for precise trimming and clean edges
- Cleaning supplies for removing wax, grease, and road contaminants
Step-by-Step Guide to Wrapping Your Bumper
The steps involved in wrapping the bumper for getting the flawless finish:
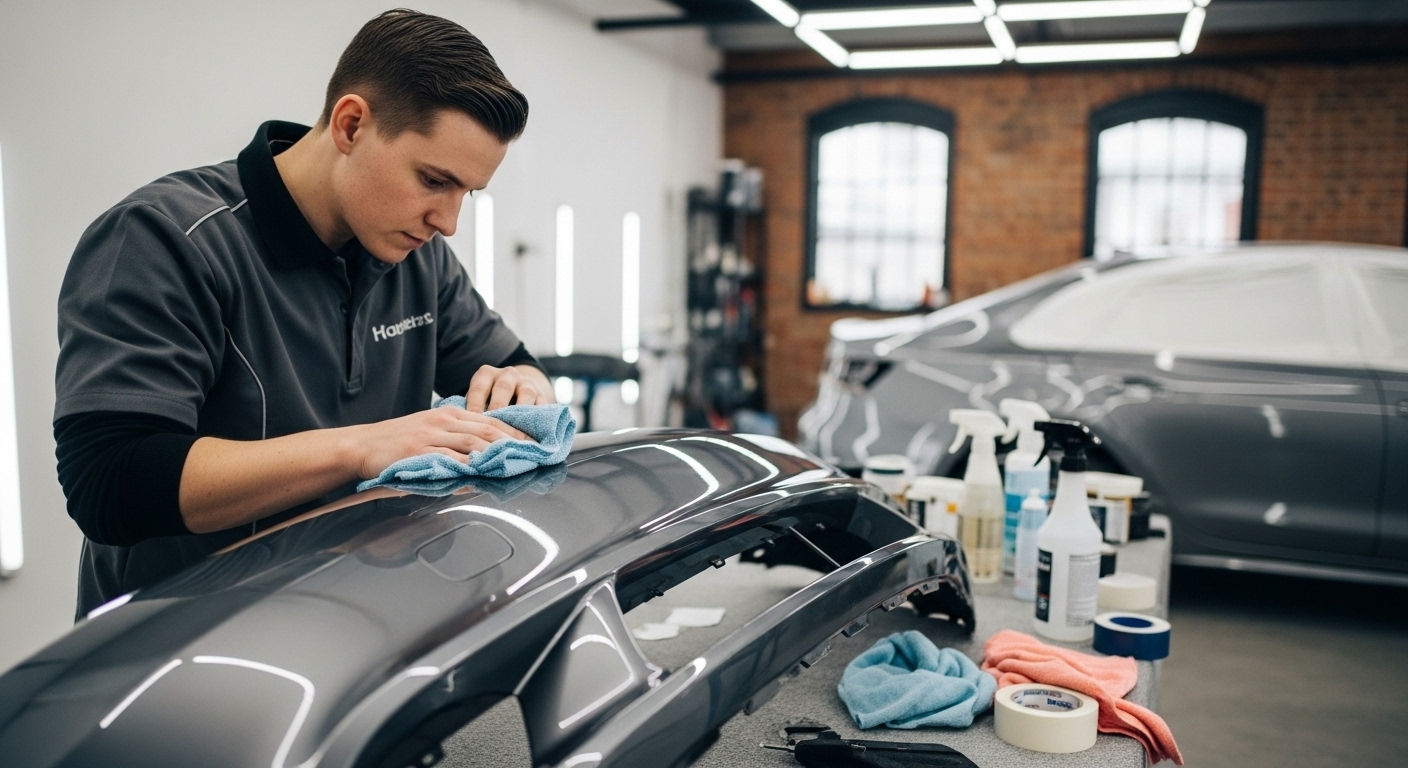
- Start by cleaning the bumper thoroughly before touching the vinyl.
- Remove wax, tar, grease, and road film using suitable cleaners. A clean surface ensures strong adhesive bonding during application.
- Measure the bumper and cut the vinyl slightly larger than needed. Extra material allows easier handling around edges and curves.
- Position the vinyl carefully before applying pressure to the surface. Use light tension to keep alignment correct across the panel.
- Apply heat gently to soften vinyl for complex bumper contours. Controlled heat helps film stretch evenly without distortion.
- Work slowly into corners using steady squeegee movements. Always push air outward from the center toward the edges. Avoid rushing steps when shaping around vents and recesses.
- Trim excess vinyl carefully using sharp blades near edges. Seal edges with gentle heat to ensure lasting adhesion.
- Patience during this stage defines the final appearance quality. Even pressure and steady hands deliver clean professional results.
Common Bumper Wrap Mistakes to Avoid
Bumpers challenge installers because of curves and recessed shapes. Rushing installation increases mistakes and material waste. Understanding common errors helps prevent frustration and poor results.
- Stretching film too aggressively, causing distortion and thinning
- Skipping heat on tight curves, leading to wrinkles and lift
- Leaving edges unsealed, causing failure during cold UK weather
Applying controlled heat reduces tension and improves shape retention. Overstretching weakens adhesive strength around edges and corners. Unsealed edges allow moisture intrusion over time. Working slowly helps maintain film integrity throughout the application. Reviewing proven techniques improves success on first attempts. Preparation and awareness reduce costly rework situations. Learning from mistakes saves time and material on future projects.
Conclusion: Achieve a Professional Bumper Wrap Finish
Professional bumper wrapping depends on preparation, patience, and attention to detail. Clean surfaces support strong adhesion and smooth visual results. Measured application prevents bubbles and uneven film tension. Heat control allows vinyl to settle naturally into complex shapes. Careful trimming ensures clean edges without exposed adhesive. Even beginners can achieve impressive finishes with steady practice. Mastering bumper wrapping builds confidence for larger vehicle areas. Vinyl wrapping continues growing across the UK vehicle scene. Protective benefits combine with styling freedom for modern drivers. A wrapped bumper preserves paint while enhancing overall appearance. Consistent technique matters more than speed or force. Success comes from respecting material behavior during application. Well-wrapped bumpers reflect skill, care, and planning. This skill supports long-term vehicle care goals.
Learning proper bumper wrapping techniques supports confident DIY bumper wrap projects. A clean finish enhances car customization without permanent paint changes. Applying correct methods protects surfaces while improving visual appeal. Mastering a vinyl wrap bumper installation builds valuable hands-on skills.