

Have you ever admired a sleek, matte black bonnet or a color-shifting hood and wondered how it’s done? Whether you're enhancing your vehicle's aesthetic, protecting your paint, or simply trying something new—wrapping your car hood is one of the most impactful ways to personalize your vehicle without committing to a full respray.
With the rise in vinyl wrap customization across the UK, especially in cities like London and Manchester, vehicle owners are now more inclined to DIY or work with certified professionals. According to a 2024 report by IBISWorld, the UK vehicle customization market has grown by 4.7% annually over the past five years, and car wraps play a major role in that boom.
Let’s explore how you can wrap a car hood, what materials you’ll need, and how to make it look professionally done—whether you're a seasoned wrap installer or a weekend DIY enthusiast.
Why Wrap a Car Hood?
Wrapping your car hood (or bonnet, as we say in the UK) isn’t just about looks—it’s a practical upgrade that brings several real-world benefits:
- Cost-Effective Aesthetics: Instead of spending thousands on custom paint, a hood wrap can transform your vehicle for a fraction of the price.
- Paint Protection: High-quality vinyl protects the underlying paint from UV rays, road debris, and weather exposure.
- Reversibility: Want to change the look after a few months? Peel it off—no damage to the original paint.
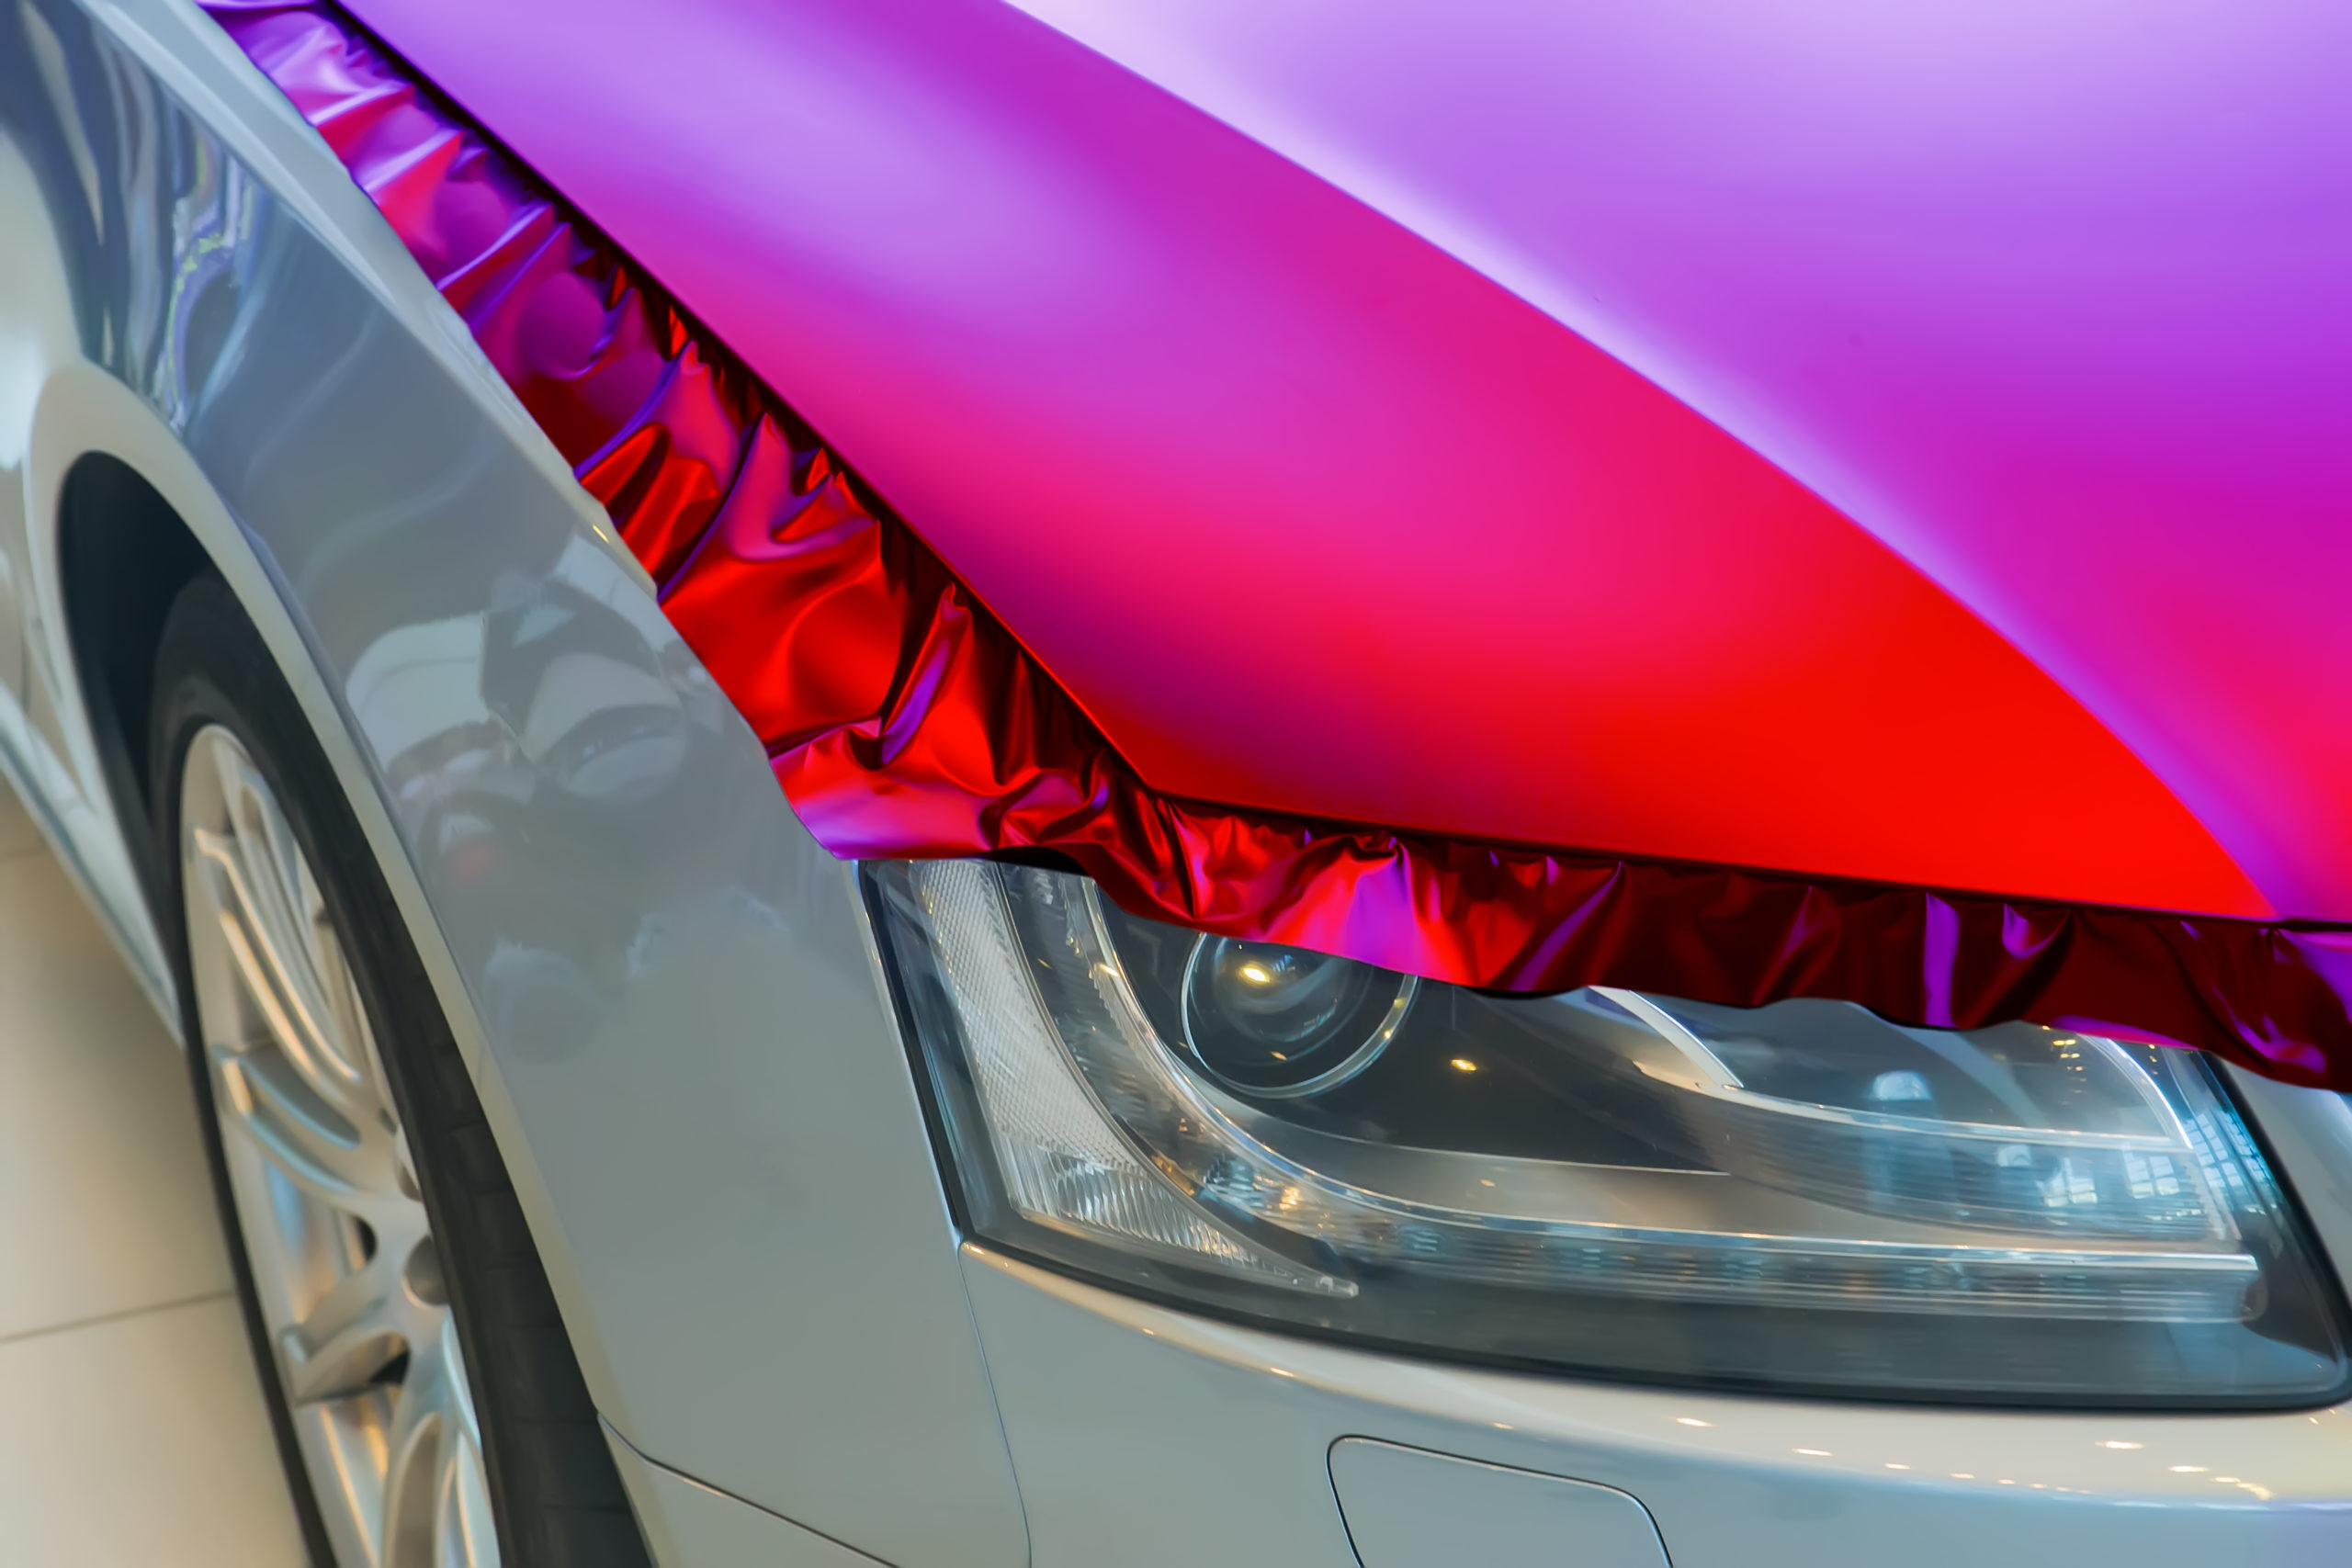
- Design Versatility: From black vinyl wraps to color shift vinyl, the choices are endless.
It’s a great entry point for those considering a full-body wrap or just looking to accentuate their car’s design with minimal investment.
Tools & Materials Needed for Wrapping a Car Hood
Before you begin wrapping a car hood, make sure you’re properly equipped. Here’s what you'll need:
Basic Tools:
- Vinyl wrap film (shop vinyl wraps here)
- Squeegee with felt edge
- Heat gun
- Precision knife or cutting blade
- Measuring tape
- Surface cleaner or isopropyl alcohol
- Gloves (lint-free or wrap gloves)
- Masking tape
- Microfiber cloth
Pro Tip:
Choose from our premium range of structured vinyl wrap for a textured look or explore wraps by color for specific finishes.
Step-by-Step Process for Wrapping a Car Hood
Step 1: Clean the Surface Thoroughly
Begin by cleaning the hood using isopropyl alcohol or a vinyl-safe surface cleaner. Any dirt, wax, or oil will prevent proper adhesion.
Step 2: Measure and Cut the Vinyl
Measure the hood and cut your vinyl wrap accordingly, leaving a few extra inches on each side for handling and adjustment.
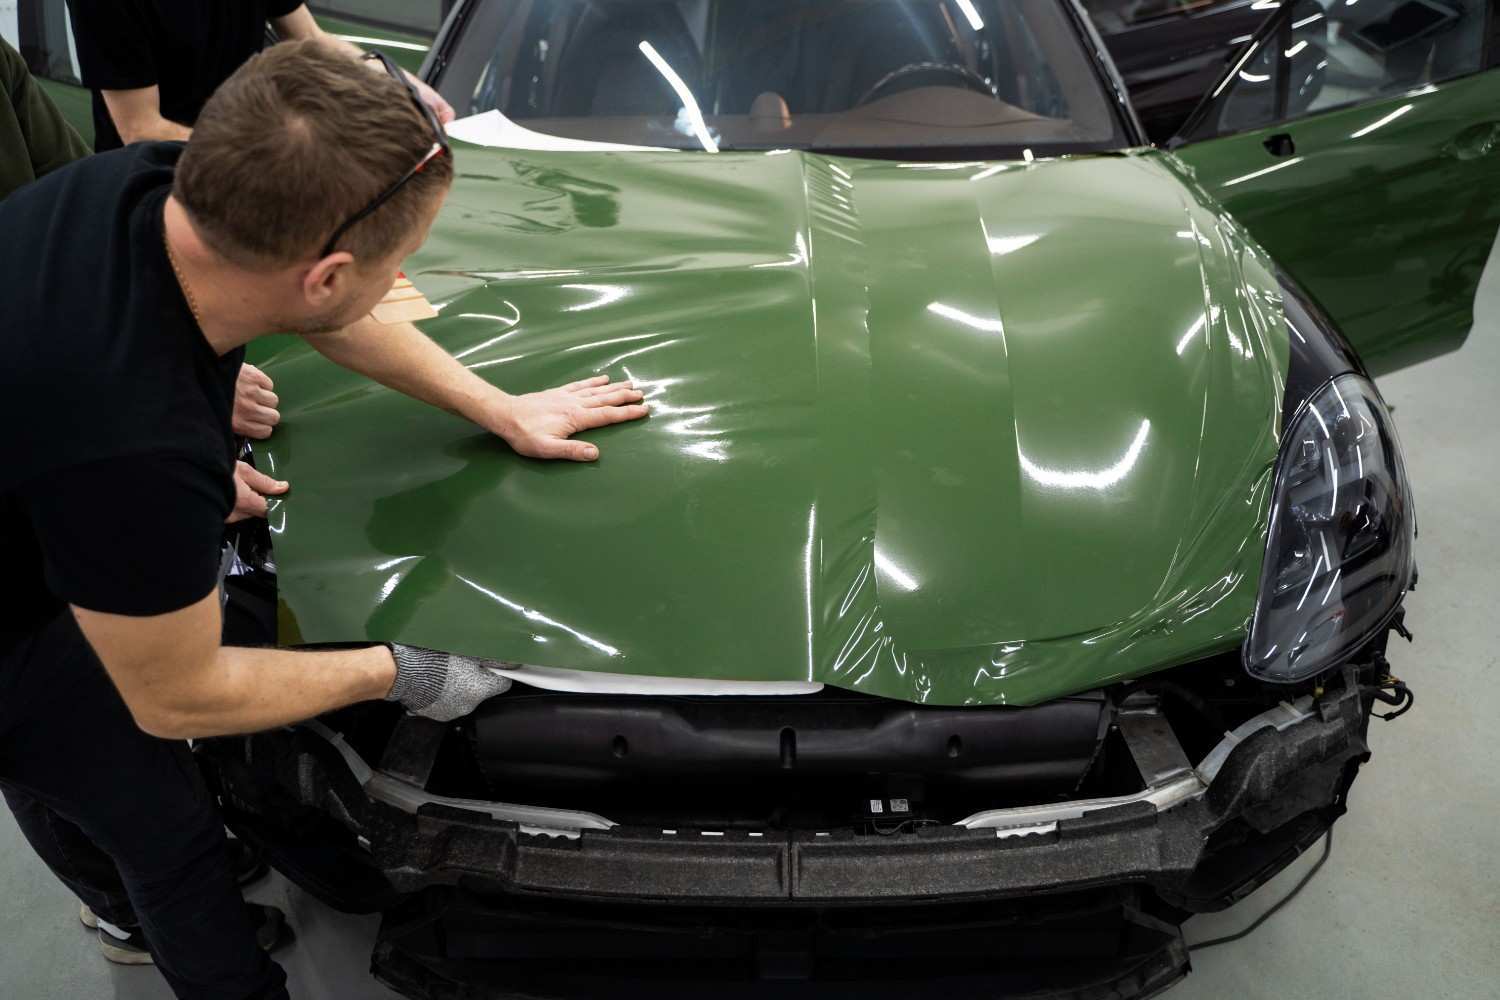
Step 3: Position the Wrap
With the help of another person (or masking tape), drape the vinyl over the hood. Position it so there’s an equal overhang on all sides.
Step 4: Tack the Centre First
Using your squeegee, start from the center and work outward to push air out and bond the wrap. Use light pressure at first.
Step 5: Apply Heat & Stretch
Use a heat gun to soften the vinyl where it curves. Gently stretch and conform the film over contours without over-stretching.
Step 6: Tuck and Trim Edges
Tuck the wrap around the edges and use your knife to trim excess material. Ensure no vinyl is left loose or hanging.
Step 7: Post-Heat
Once everything’s in place, heat the entire surface again. This helps ‘lock in’ the vinyl and prevents peeling.
Common Mistakes to Avoid When Wrapping a Car Hood
Even professionals can make mistakes. Here’s what to watch out for:
- Not Cleaning Properly: Any residue or particles can cause bubbles or lifting.
- Overstretching the Vinyl: This can thin out the film and lead to discoloration or tears.
- Ignoring Post-Heating: Skipping this step reduces the durability of the wrap.
- Not Allowing for Edge Tension: Edges are where most wraps fail. Ensure they’re secure with proper tucking and heating.
Maintenance Tips for a Wrapped Bonnet
A wrapped bonnet can last anywhere from 3 to 7 years depending on care. Here's how to maintain it:
- Wash Gently: Use pH-neutral car shampoo and a microfiber cloth. Avoid high-pressure washes.
- Avoid Harsh Chemicals: No abrasive waxes or cleaners.
- Store Smart: If possible, park in shade or use a cover to protect from UV damage.
- Inspect Regularly: Check for peeling at edges or corners and address issues early.
Following these steps will not only protect your investment but also ensure your car with hood wrap stays looking sharp for years.
Conclusion: Ready to Wrap Your Car Hood?
Whether you're wrapping your bonnet for protection or aesthetics, doing it right makes all the difference. With the right vinyl from a trusted supplier like TeckWrap UK Official, a clean environment, and the correct techniques, your DIY or professional wrap can look just as flawless as a showroom finish.
Explore our full range of vinyl wraps, from matte blacks to stunning color-shift options. Our products are designed for UK vehicles and climates, ensuring optimal durability and performance.
FAQs
Q: How long does a car bonnet wrap last?
A: Typically 3–5 years, depending on exposure and care. Premium wraps can last even longer.
Q: Can I wrap just my hood, or do I need to do the whole car?
A: You can wrap just the hood. It’s a popular entry point for first-time wrappers.
Q: How much vinyl do I need to wrap a car hood?
A: Most standard car hoods require about 1.5 to 2 metres of vinyl.
Q: Is it better to wrap or paint my car hood?
A: Wrapping is reversible, affordable, and protective. Painting is permanent and costly—wrapping is ideal for flexibility.
Want to make your car stand out with a bold new look? Visit TeckWrap UK Official today and shop the UK’s best selection of professional-grade vinyl wraps.
Have questions? Reach out to our team—we're here to help!