


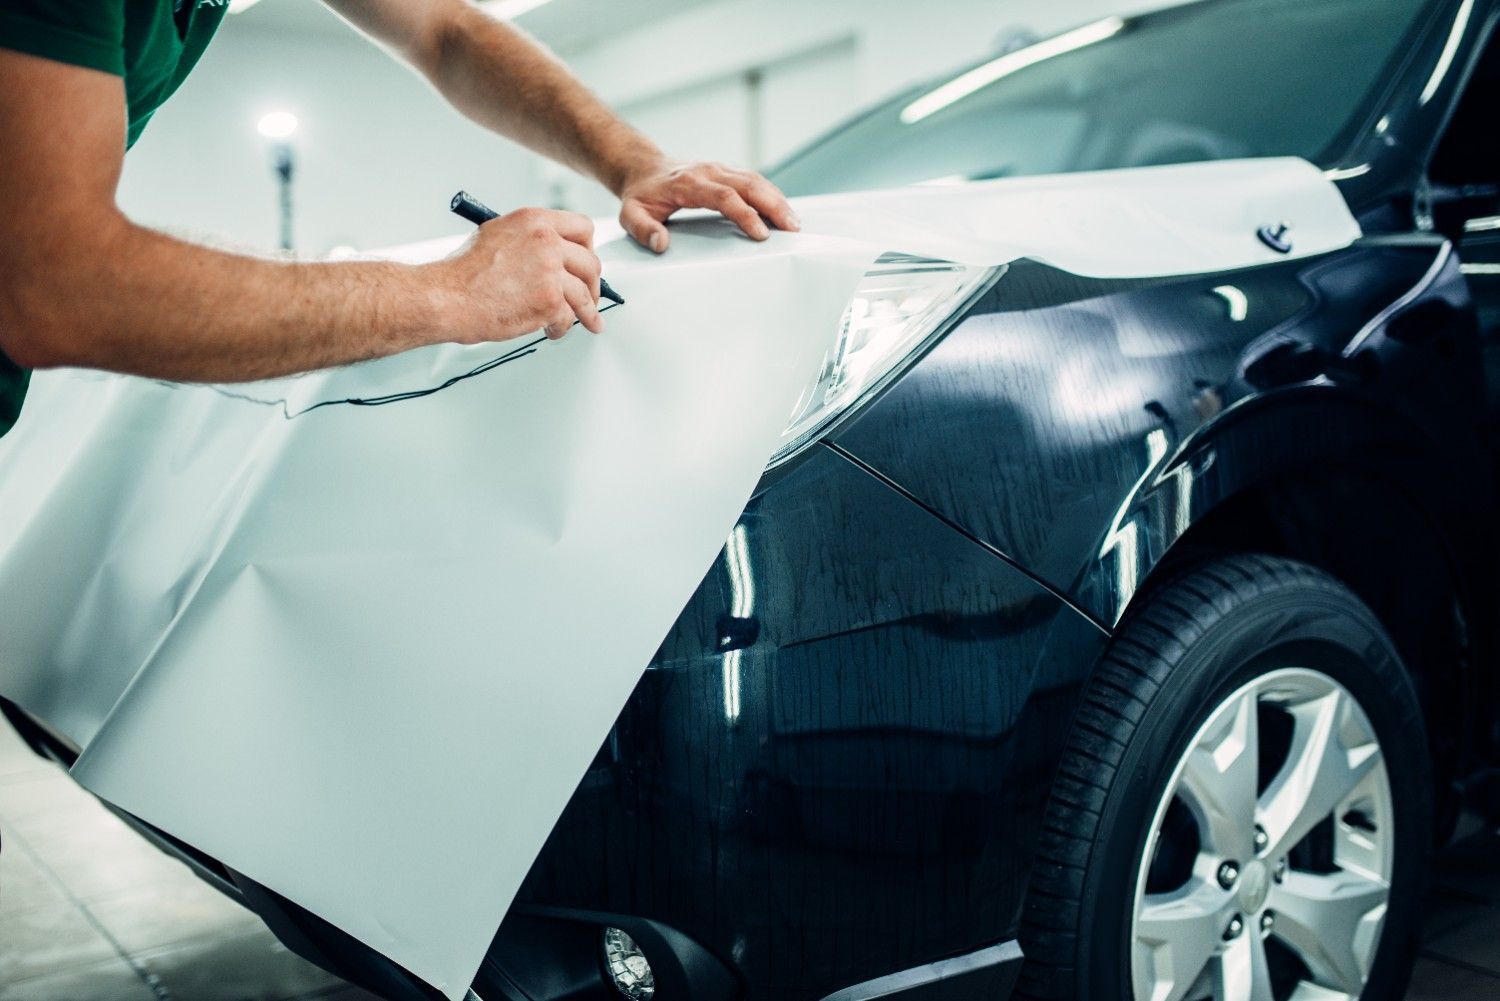
When you see a shiny wrapped car, you feel amazed, right? A perfect car vinyl wrap installation changes a car’s look completely. But many small mistakes can spoil a wrap before you even notice. Perfect wraps are about careful work, smart plans, and good skills.
The automotive wrap films market will grow 22.1% each year by 2030. Market Research Future also expects a 25% growth rate very soon. This makes learning professional wrap methods even more important today.
Even one small error can ruin the beauty and strength of wraps. If you dream of a top-tier wrap, you must follow proper methods. This simple vinyl wrap installation guide will help you wrap like a pro. Let’s now explore the four golden rules for a flawless car wrap.
Rule #1: Plan & Measure Accurately
Every good wrap starts with a detailed plan. You must measure the panels twice before cutting even once. Misjudging sizes leads to wasted expensive material and bad-fitting issues.
Another secret is understanding surface energy before picking your vinyl. Different car surfaces need different adhesive strengths for strong bonding. Planning the wrap smartly helps avoid too many seams on the technical parts of the car. Fewer seams make the car look cleaner and more professional
Rule #2: Clean Every Surface Thoroughly
No wrap can ever stick well to a dirty surface. Tiny dust, old wax, oils, and residues reduce vinyl’s sticking power. Cleaning a car before wrapping is a prerequisite. Without well cleaning, bubbles and peeling will ruin your wrap quickly.
Use alcohol-based cleaners made specially for vehicle wraps and adhesives. Avoid silicone cleaners, as they leave behind slippery surfaces and hurt bonding. Also, make sure you clean your heat gun before wrapping. Even dirty equipment can leave dust marks under the vinyl layers.
Here are some important cleaning tips before applying your car wrap:
- Use a lint-free cloth with 70% isopropyl alcohol for final cleaning.
- Wipe along all edges, curves, and under door handles carefully.
- Dry the surface thoroughly to stop moisture from getting trapped.
- Always clean in a dust-free, indoor environment if possible.
Without proper cleaning, even the best car wrap tips and tricks will fail.
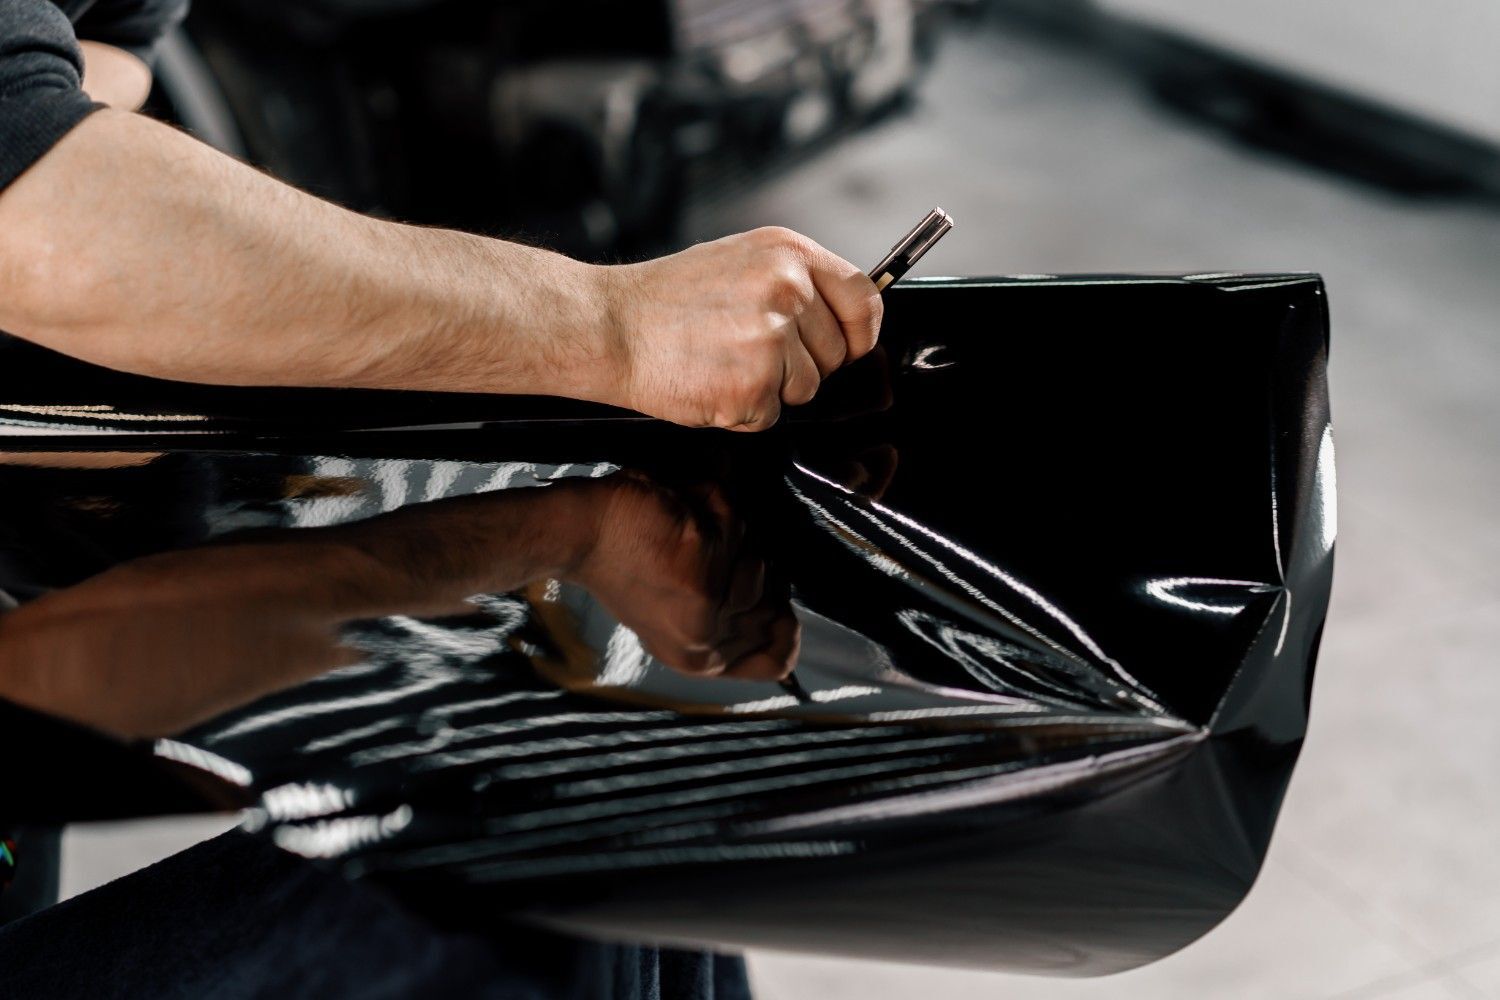
Rule #3: Never Overstretch the Vinyl
Stretching is part of wrapping, but too much stretching is bad. Vinyl wrap overstretching weakens the film and changes its bright color. Overstretched vinyl loses adhesive strength, leading to lifting and shrinking issues. It is important to stretch only as needed without damaging the material.
Learning cold pre-stretch techniques will help you shape vinyl correctly. This method reduces film tension while wrapping tricky curves and deep recesses. Knowing how to spot signs of stress like tiny wrinkles is vital. You can easily learn them through guides about reading wrinkles smartly.
To avoid vinyl wrap overstretching, remember these quick key points:
- Always warm the vinyl slightly but never heat it too much.
- Use cold pre-stretching around curves before final sticking steps.
- Look closely for wrinkles that show too much tension.
- Use a felt squeegee to smooth and stretch carefully.
Mastering this rule ensures a smooth, clean, and perfect vinyl wrap.
Rule #4: Always Post-Heat Stretched Areas
Post heating vinyl wrap is the final magic touch after wrapping curves. It maintains the vinyl’s new shape and keeps the wrap firmly in the place. Post-heating also helps the material settle better and boosts long-term adhesion greatly. Skipping post-heating means your vinyl can shrink or peel within weeks.
Heat the stretched areas with a heat gun at the right temperature. This removes all tension and keeps the stretched vinyl stable and secure. Following climate control during post-heating also ensures a longer lasting wrap. This simple but vital step stops future lifting or shrinking problems early.
Important post-heating points every installer must remember:
- Heat the vinyl to 90°C for stretched sections carefully.
- Keep moving the heat gun to avoid overheating one spot.
- Press down with a squeegee after heating for firm bonding.
- Check every deep recess, curve, and edge during post-heating.
Professional wrappers never skip post-heating.
Bonus Tips: Go Pro or DIY Smartly
Today, many car lovers try DIY wrapping at home for fun. Learning how to vinyl wrap a car yourself gives you a real sense of achievement. However, many new wrappers make mistakes without knowing the key rules.
Professional wrappers follow strict car wrapping rules for perfect results every time. Even small skills like cutting vinyl properly or fixing trapped bubbles matter. DIY wrappers should always learn vehicle wrap do's and don'ts first, carefully, to avoid mistakes.
If you want a pro-level wrap without mistakes, follow these key points:
- Use only high-quality wrap material made for cars.
- Always follow a trusted vinyl wrap installation guide step by step.
- Be very patient and avoid rushing during tricky panel areas.
- If something goes wrong, call a professional for help.
The more patient you are, the better your final result will be. With practice, you can master DIY wraps using smart car wrap tips and tricks.
Final Words: Wrap Like a Pro, Every Time
Professional car vinyl wrap installation is a mix of art and science. You must plan well, measure accurately, clean, and stretch right. Skipping even one step can lead to many future problems. Following these four golden rules ensures your wrap looks perfect every time.
Patience, planning, and the best practice turn ordinary wraps into masterpieces. Great wrappers pay attention to every small detail and follow each step carefully. Now you know the secrets, so you can wrap like a real pro!
Ready to give your car a fresh and new stunning look? Master the art of professional wrapping with these simple golden rules!