Upgrading your car color with vinyl wrapping provides you with a modern style without an expensive paint job. A professional wrap provides a cost-effective solution to refresh your car design while keeping your actual paint protected. But how do you wrap a car successfully? Here, within this short read, we will briefly discuss the steps for applying a wrap and share the expert techniques to help you achieve professional results.

What Is a Vinyl Wrap and Why Choose It for Your Car?
What is a car wrap? It is a durable adhesive material that you apply to your car's surfaces to modify their color texture and finish. Car enthusiasts love wrapping because it allows unlimited design choices from stylish matte black to vibrant visual effects.
Why choose a vinyl car wrap? A wrap costs less and serves as protection for your vehicle while letting you update the design anytime. You can enhance both your car's exterior and interior look through vehicle interior wrapping.
Step-by-Step Guide to Applying a Car Wrap
Getting started with a wrap application seems hard at first but following clear steps makes the project simple to fulfill. These are simple steps:
Step 1: Prepare the Car Surface for Wrapping
A clean surface is crucial. Wash your car with mild soap and water first then spray alcohol-based cleaner to remove residue and oils from its surfaces. This ensures the vinyl adheres properly.
Step 2: Measure and Cut the Vinyl Wrap
Accurate measurements for each car section help you avoid wasting vinyl. Add 2 to 3 inches to your cut dimensions to ensure enough overlap when wrapping the edges. Cut the vinyl material with a sharp knife following the marked measurements.
Step 3: Apply the Vinyl Wrap
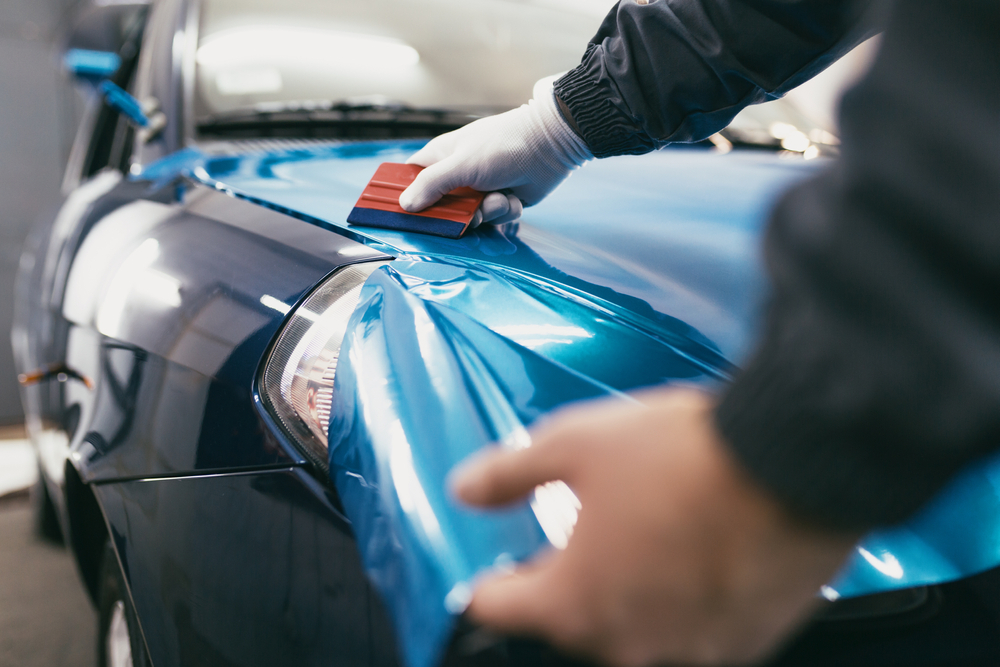
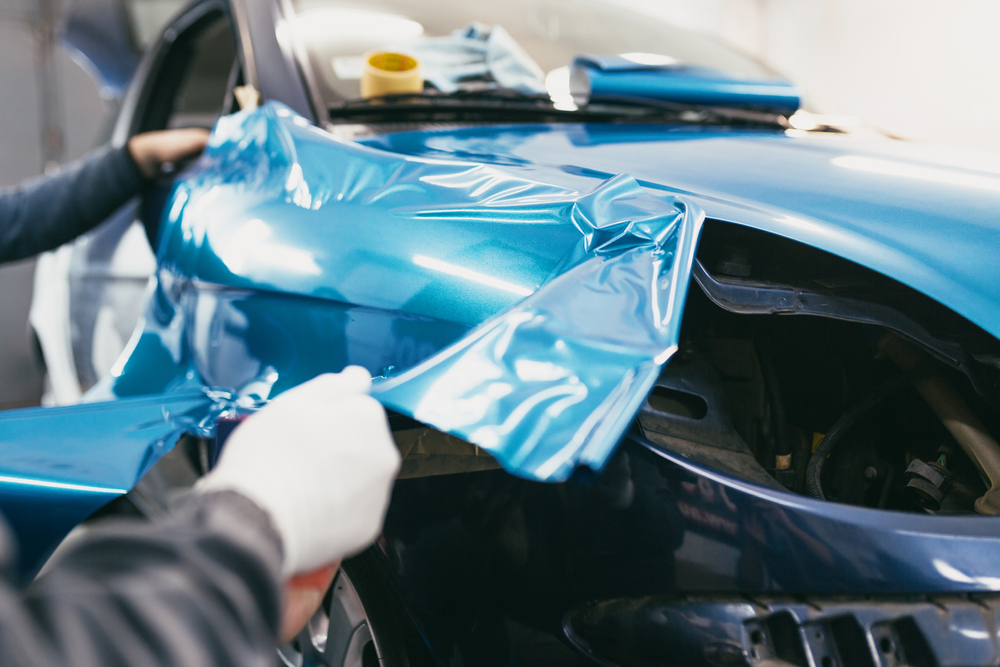
Begin by peeling the backing from about an inch of your car wrap. Place the vinyl against the car’s surface and press it flat with a squeegee to get good contact. Use a heat gun to heat the vinyl so it fits on curved surfaces. Apply the vinyl layer in small sections to eliminate air trapped between layers.
Step 4: Trim and Finish the Edges
Cut away any extra wrap material with a specialized cutting knife after installation. Fold the material tightly against each panel to achieve a professional finish. Reheat the surface to bond the wrap to its position.
Common Problems and Solutions When Applying a Car Wrap
Although you follow all wrapping steps, issues such as air bubbles and wrinkles can appear during installation. Here’s how to tackle them:
Air Bubbles and How to Fix Them
Press the squeegee over the surface to avoid air pockets during installation. Poke a pin into hard-to-remove bubbles and gently release trapped air to help flatten the vinyl.
Wrinkles and Creases
Wrinkles can ruin the finish. Use a heat source to apply pressure on the vinyl and gently pull the material for surface alignment.
Adhesion Issues
The surface needs to be clean and the temperature needs to stay within an ideal range to create effective vinyl bonding. So, work on a clean surface at 60-80°F (15-27°C) for optimal vinyl application results.
Tips and Best Practices for Applying Vinyl Wrap
To achieve the best results, follow these expert wrapping application tips:
Work in Ideal Temperature Conditions
The installation of vinyl wrapping film demands a specific temperature range to work successfully. You need normal temperatures for vinyl to bond correctly since high temperatures expand the material. For perfect vinyl wrapping results maintain the temperature ranging from 15-27 degrees Celsius (60-80 degrees Fahrenheit).
Invest in Quality Tools
Quality tools including heat guns, squeegees, and knives boost efficiency while helping you work with higher precision.
Take Your Time for a Precise Finish
Rushing can lead to mistakes. Take your time while working on difficult areas like the hood, roof, and trimming components. Installing the vinyl wraps on car hood and trim parts needs you to keep your hands steady while paying close attention to every detail.

Ready to Wrap Your Car? Let Us Help!
If you require flawless outcomes, turn to professional assistance. Our team is here to give you guidance on how to wrap vehicles and deliver expert vehicle wrapping services, so just ask for our help to achieve your desired car finish. We are here to support you during the car wrap installation of both partial and entire vehicle areas.
Conclusion: Is Wrapping Your Car Worth It?
With Teckwrap UK, you can achieve a custom car design that reflects your personality at a price that fits your budget. The time and effort needed for car wrap installation pay off with its best transformative results. These wraps help you update your car's look at a reasonable price compared to a complete paint job. So, why wait? Start making your car look different while showing off your style through a custom vinyl wrap now.
