

9th Jul 2026
Complete PPF Maintenance Guide: To Keep Your PPF Clear
PPF maintenance consists of regular washing, inspection and treatment practices to maintain clarity, adhesion and the ability of thermoplastic polyurethane film to self-heal throughout its life of five to ten years. If not properly maintained, paint protection film can turn yellow, hazy, lift at the edges or develop permanent water etching, all of which will render the majority of paint protection film manufacturer's warranties invalid and result in the costly reapplication. This guide goes through each stage of maintenance from the 48–72 hour curing rule, to washing properly, quarterly inspection, ceramic coating compatibility, troubleshooting common issues and what professional care will cost in 2026.
Why PPF Maintenance Matters
PPF protects factory paint from physical damage caused by stone chips, road salt, UV damage and chemical contamination but only while the film itself stays in good condition. Once the topcoat is removed with incompatible chemicals it no longer has the ability of self-healing. Edges left to lift permits moisture and grit to get underneath the film. Hazing left untreated becomes permanent etching no polish can reverse.
The financial case for correct maintenance is straightforward. The cost of a full-vehicle PPF installation is £3,000 - £5,500 and varies depending on the grade of the film. Giving the film two or three years of life when it was due for maintenance instead of 8 to 10 years, is a huge loss. Many installers warranties have maintenance requirements; if those requirements are not followed, the warranty will be voided entirely and the owners are responsible for full reapplication costs
Before Your First Wash: The 48–72 Hour Rule
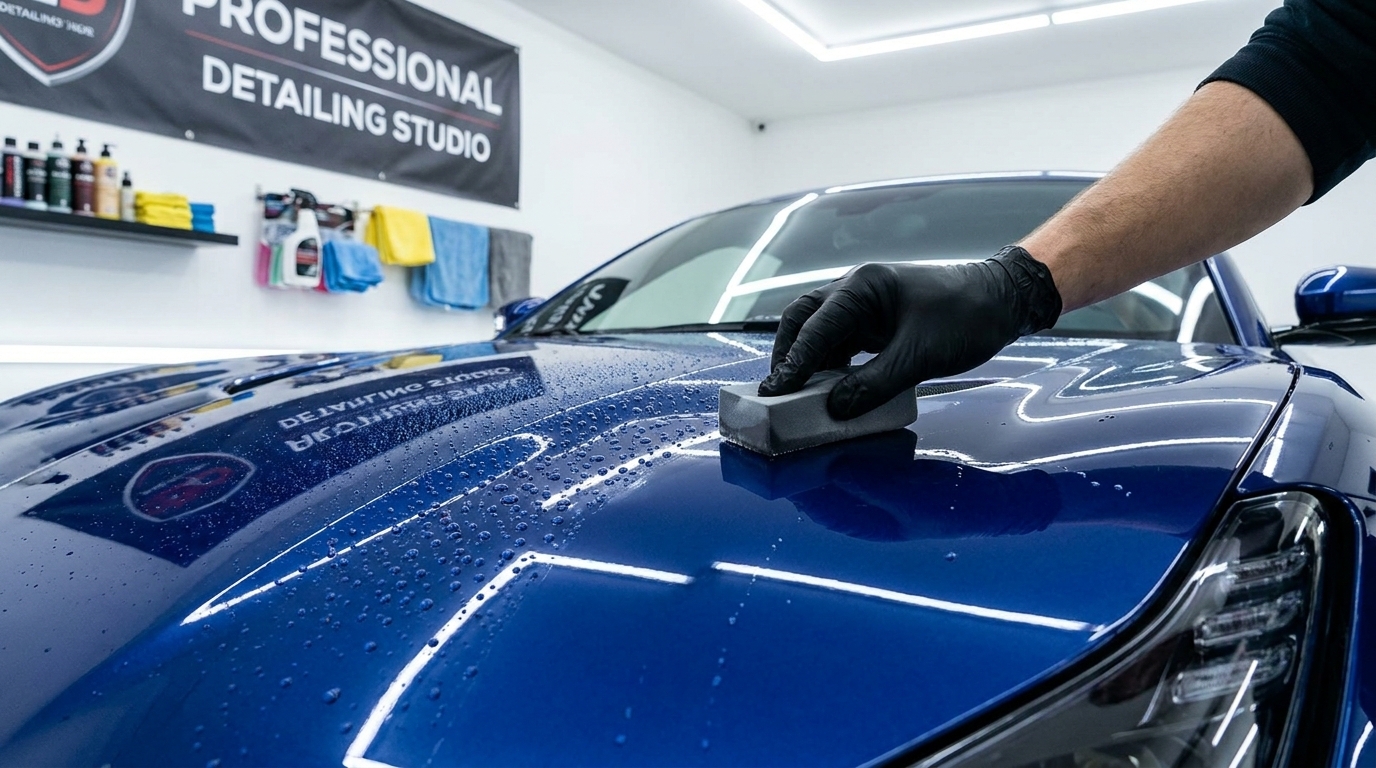
Before any washing occurs, there should be a minimum of 48 to 72 hours of no disturbance of new PPF after installation. Within this time window, the pressure sensitive adhesive material is still adhering to the paint surface and the film is still conforming to the panel contours. Early disturbance; especially due to water pressure or physical contact, can cause the edges to shift before the film is set or moisture underneath the film.
It's normal to have a few small bubbles and light haze in the first few days. They are caused by moisture being trapped in the process of installation and are not defects. The moisture evaporates out of the plastic with gentle solar energy or heat in a warm-garage and bubbles clear up in days to two weeks. Do not push, poke or puncture them. If large bubbles are noticed that are not resolving after 3 weeks or more, contact your installer, this could be a workmanship problem within the installation warranty.
Step-by-Step: How to Wash Your PPF Safely
Incorrect washing; wrong products, too much pressure, or poor drying practice, is responsible for the majority of preventable film degradation. Follow these steps every time.
Pre-Wash Inspection
Before any water touches the car, spend two minutes walking around the vehicle at close range. Look for raised edges at panel borders, bubbles that appeared since the last wash, and any bird droppings or tree sap bonded to the surface. Identifying these areas before washing lets you treat them with targeted care rather than dragging a mitt across a lifted edge and making it worse.
Choose the Right Products
Use only pH neutral shampoos for PPF that are specifically labeled for PPF or clear bra. The topcoat of the film is chemically sensitive, so do not use household dish soap, general detergents, petroleum-based solvents or carnauba- or silicone-based waxes found in regular car washes. These remove the protective characteristics of the topcoat and, upon repeated use, cause haze and loss of self-healing ability. Dedicated PPF shampoos cost between £10 and £25 per bottle, and PPF-safe detailers or spray sealants run between £15 and £35, a minor outlay relative to the value of the film beneath them.
Washing Technique
For every hand wash, use 2 buckets, one with pH neutral soap solution and the other with clean water to rinse off. Use a clean, soft microfibre wash mitt and rinse it in the clean-water bucket after each panel before reloading with shampoo. This removes grit from the mitt that would otherwise be dragged across the film and cause swirl marks. Work from top to bottom, and leave lower panel and sills for last.
Pressure washing can be done safely, providing the conditions: pressure of not more than 1,200 PSI, distance of at least two feet, and wide fan nozzle. Do not run the stream at a sharp angle toward a film edge, seam or corner even if it only comes in contact briefly for a little while, it may start to delaminate. Washing hands is the best way. Dry the film immediately with a clean plush micro fibre drying towel; do not use a car air drier, as this scratches the surface of the car over time in a high mineral water area.
Quarterly PPF Inspection Checklist
Washing the surface keeps it clean but a thorough inspection every three months helps identify any potential issues before they become expensive. Take 20-30 minutes and work systematically around each panel.
To test the adherence along each edge and seam, gently run fingernail under the film border. A good bonded edge is flat and solid, and if there is any sign of lifting, large or small, it needs to be reported to the installer as soon as possible as these lifting areas become bigger problems as moisture collects underneath. Check each panel under an angled lighting source or torch to look for hazing, discolouration or cloudiness which cannot be seen under flat overhead panel light. With extra care, check horizontal surfaces, bonnet, roof etc; UV exposure and contamination from birds dropping are most concentrated there.
Gently rub fingers over each panel for smoothness. If the area is rough or gritty, it contains embedded contamination, which normal washing will not remove, and wash with a pH neutral iron fallout remover that is compatible with PPF. Take pictures of bubbles with a cell phone and note if they are resolving, stable, or growing. If your quarterly inspection reveals lifting edges, new hazing, or persistent bubbles, book a professional inspection, an approved installer can re-bond an early-stage lifted edge for a fraction of the cost of panel reapplication.
Common PPF Maintenance Mistakes
Using incompatible chemical cleaners is the most frequent cause of topcoat degradation. Alkaline degreasers, citrus pre-wash sprays, solvent-based tar removers, and standard car waxes all break down the self-healing polymer layer over repeated use, causing the film to haze and lose flexibility.
High-pressure washing at film edges is the second most common cause of early failure. Directing sustained water pressure at a film border gradually forces water into the adhesive layer. Once moisture gets underneath, it weakens the bond across a progressively larger area and peeling begins, a process very difficult to reverse without professional reapplication.
Leaving bird droppings and tree sap to dry causes chemical etching that can penetrate through the topcoat into the film body. Bird droppings begin damaging polymer surfaces within an hour in warm weather. Both should be removed immediately using a PPF-safe spot cleaner and a clean microfibre cloth with a gentle soaking method, never rubbing dried contamination across the surface.
Using abrasive tools, sponges with scrubbing surfaces, stiff brushes, or worn microfibre cloths, creates micro-scratches that self-healing film cannot always recover from. Always use new, clean, plush microfibre mitts designated exclusively for PPF surfaces.
Ceramic Coating Over PPF: Is It Recommended?
PPF and ceramic coating solve different problems and work better in combination than either does alone. PPF is a physical barrier that absorbs stone chip impact and prevents scratches reaching factory paint. It does not, however, make the film's own surface particularly easy to clean. Without an additional coating, contaminants bond to PPF at a similar rate to bare paint.
Ceramic coating applied over PPF adds a chemically bonded hydrophobic layer on top of the film's topcoat. Water beads tightly and sheets off rather than spreading and sitting. Dirt, road grime, and bird dropping residue are significantly less likely to bond firmly to a ceramic-coated PPF surface, and those that do rinse away far more easily. Many owners find their washing schedule stretches from weekly to fortnightly after adding ceramic, and each wash takes less time because contamination does not adhere as strongly. The coating also deepens the film's gloss and extends the effective service life of the PPF topcoat by absorbing chemical wear before it reaches the film beneath.
A professional ceramic coating applied over a full-vehicle PPF installation typically adds £300 to £800 to the total project cost depending on the coating grade. Consumer-grade ceramic sprays labelled PPF-compatible are available for £20 to £60 and can be applied at home between professional refreshes, though they do not match the durability of a professionally applied coating.
Dealing with PPF Issues: Troubleshooting
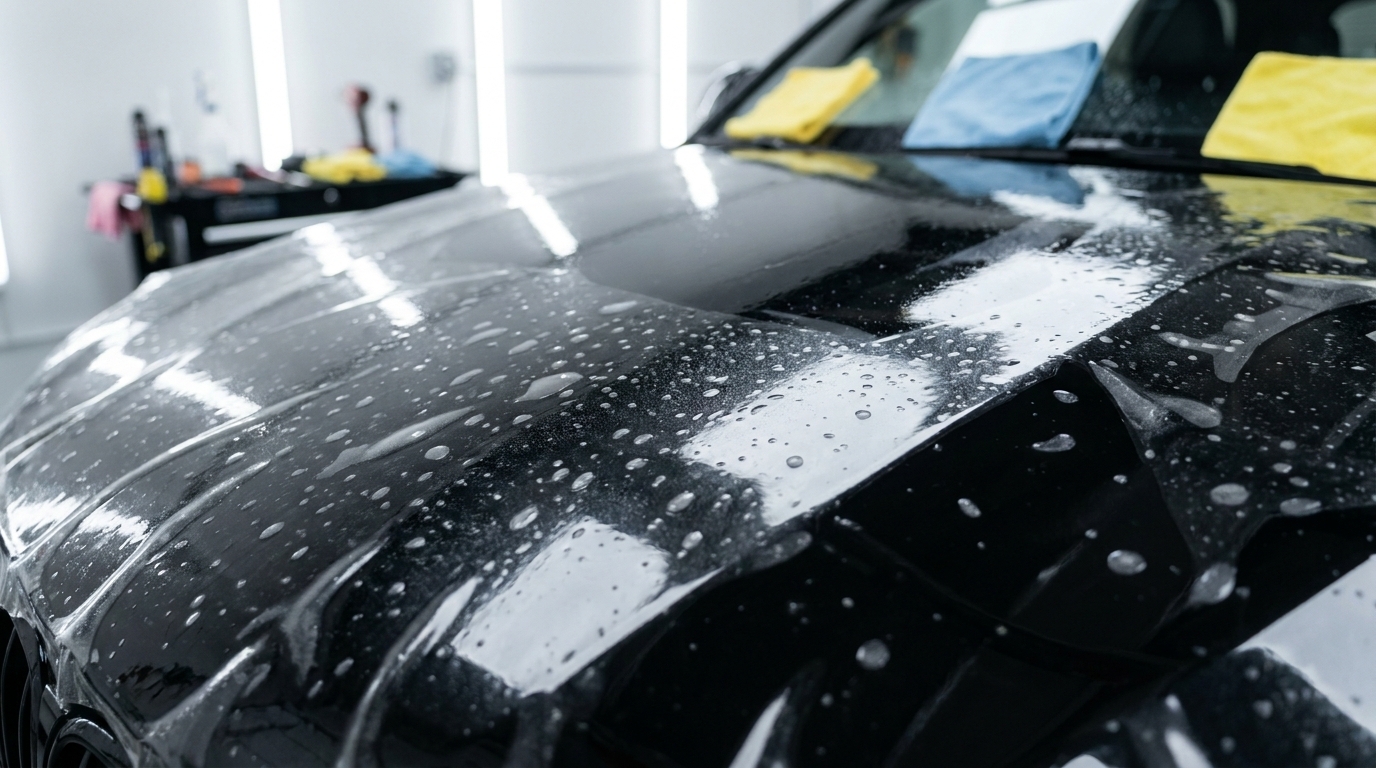
Water spots form when mineral-rich water evaporates on the film surface. Fresh spots can be removed with a dedicated PPF-safe water spot remover applied to the correct dwell time, then lifted with a clean damp microfibre cloth. Established etched-in spots require light professional machine polishing, best left to an experienced installer, as incorrect technique can damage the topcoat or interfere with the self-healing layer.
Hazing has two completely distinct causes. Installation haze appears within days of fitting from trapped moisture and is typically permanent if it has not resolved within three to four weeks, contact your installer, as this is normally covered under a workmanship warranty. Maintenance haze develops gradually over months from incompatible product buildup on the topcoat and usually clears within one or two passes of a dedicated PPF decontamination wash.
Bubbles smaller than approximately 25mm that appear in the first few weeks are almost always moisture-related and will resolve through heat exposure within days to a few weeks, do not intervene. Larger bubbles, or any bubble that has not reduced in size after four weeks, need professional assessment. Never puncture a bubble yourself; this causes permanent damage and typically accelerates peeling across the surrounding area. Most reputable installers address installation-related bubbles under their workmanship warranty at no charge.
Proper care keeps your paint protection film clear and effective for its full service life. Book your PPF inspection today.
FAQs: PPF Maintenance
How often should I wash PPF?
Weekly is the recommended baseline. Increase frequency after heavy rain, motorway driving, or any event that deposits bird droppings or road salt on the surface. Never leave contamination to sit longer than 24 hours in warm weather, where chemical etching accelerates significantly.
Can I use regular car wash products on PPF?
No. Only pH-neutral products specifically labelled safe for PPF should be used. Standard waxes, acidic wheel cleaners, alkaline degreasers, and citrus pre-wash sprays are all incompatible with PPF topcoats. Dedicated PPF shampoos cost £10–£25 per bottle, a small outlay relative to the value of the film.
How long should I wait before washing after PPF installation?
A minimum of 48 to 72 hours. The pressure-sensitive adhesive is still fully bonding during this window. Small bubbles and light haze are normal and will resolve as the adhesive cures.
Is pressure washing safe on PPF?
Yes, under controlled conditions only: below 1,200 PSI, at least two feet from the surface, with a fan nozzle. Never aim the stream at an edge, seam, or corner. Hand washing remains the safest option.
Should I get ceramic coating over my PPF?
Yes, it is recommended for most owners. It adds a hydrophobic layer that reduces contamination bonding, makes washing easier, and extends the PPF topcoat's service life. Professional application costs £300–£800; PPF-compatible consumer sprays cost £20–£60 for home use between professional refreshes.