Car wrapping is an effective method of giving your car a new appearance without painting it in the traditional sense. Vinyl wrap is popular among car lovers because it costs less, is very versatile and can be removed at the owner’s will. However, one of the challenges that most people experience during the vinyl wrap installation is the formation of bubbles. These bubbles may also cause damage to the sleekness of the wrap and the car in general appears unprofessional. In this blog, you will learn how to get bubble-free vinyl wrap so that you can get a perfect finish.
Understanding Bubbles in Vinyl Wrap:
Bubbles are one of the most irritative issues during vinyl wrapping. But why do bubbles form? During the vinyl wrap application, a gap of air can be created beneath the vinyl and the surface of the car. This happens if the surface is not prepared adequately or even if the wrap is not aligned well enough. Not only do these bubbles make your wrap look not so appealing but they can also cause the lifespan of the wrap to be reduced. Another thing to consider is that a perfect vinyl wrap finish on an automobile needs a lot of focus to avoid this problem.

Preparation is Key: Surface Readiness
The first measure that has to be taken to eliminate such bubbles is to ensure that the car surface is clean and smooth. Before starting the process, you should wash the car in order to eliminate any dust or grease on it. Those sediment particles which remain on the surface can create bubbles during application. One should work in a dust-free environment, and also make sure that the surface that is being worked on is dry. Proper preparation is the key to smooth vinyl wrap installation.
Tools Needed for a Bubble-Free Vinyl Wrap:
For better results one needs the right tools that are required in this process. Here’s a list of essentials:
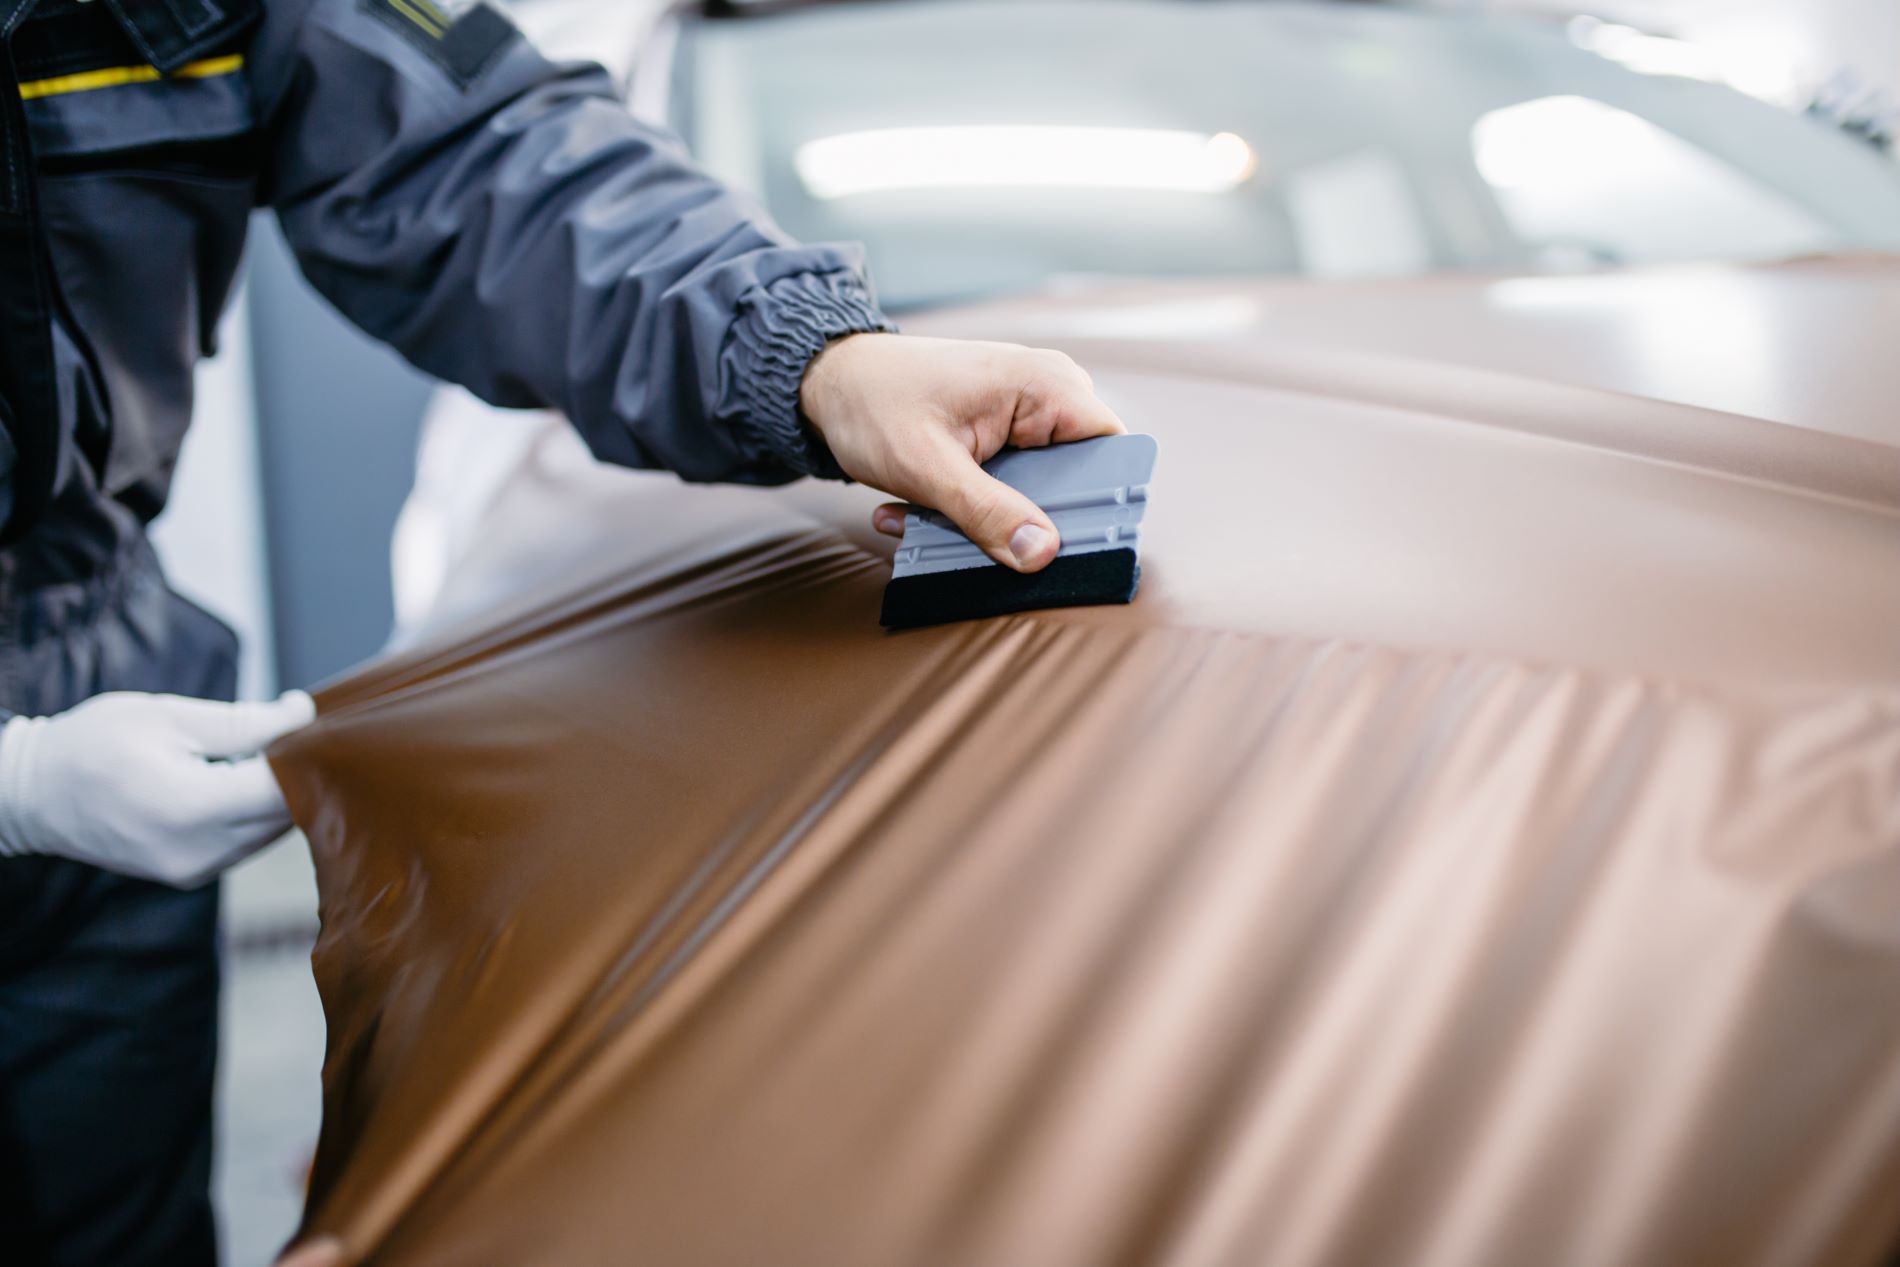
- Squeegee: This assists in improving the texture of the wrap and in expanding and pushing out the trapped air from the wrap.
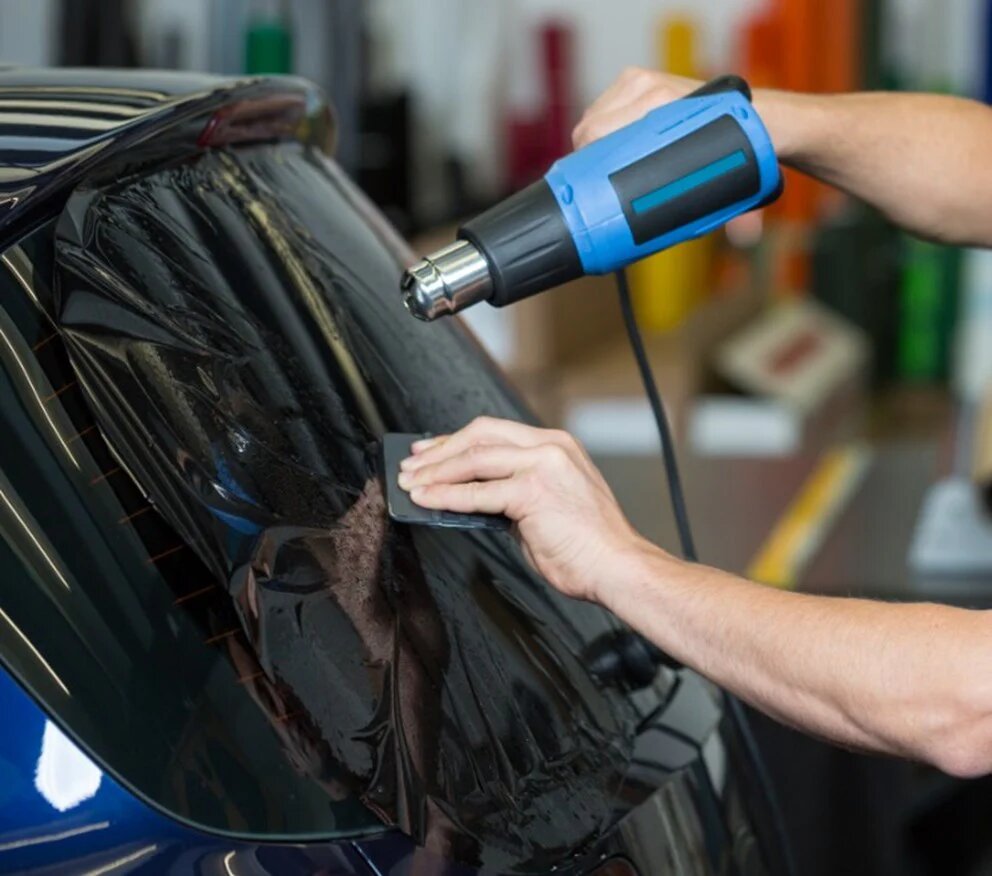
- Heat Gun: Applying heat also makes the vinyl more flexible in order to cover the curves of the car properly.
- Utility Knife: This is used during installation to ensure that appropriate cuts and edge trimming are made.
- Gloves: To avoid marking the vinyl with fingerprints and other stains.
These tools are crucial for getting a smooth and perfect vinyl finish and preventing bubbles from forming.
Step-by-Step Guide to a Smooth Vinyl Wrap Application:
Follow these steps for a bubble-free vinyl wrap application:
- Clean the Surface: Ensure that the car interior is clean and free of any moisture or dampness before you begin. Dirt as minute as the smallest speck of dust is equally capable of creating bubbles.
- Measure and Cut the Vinyl: Place the vinyl on the car to estimate or measure the area you need to cover and wrap. Cut the vinyl with the utility knife to obtain the desired dimensions.
- Apply the Vinyl: Begin from one end and gradually pull it over the object to be covered. The squeegee should be used now to work the vinyl flat, moving air towards the sides as the process goes on.
- Use Heat: If you see that there are some areas that don’t stick as properly, use a heat gun to warm up vinyl. This makes it easier to stretch and fit over curves also.
- Smooth it Out: Just continue to smooth the wrap while doing that. Do it very carefully to ensure no air gets trapped.
If you follow these simple steps, you will be able to achieve a smooth vinyl wrap installation every time.
Dealing with Bubbles Post-Installation:
Still, with these measures, perhaps you might still get a few bubbles after the wrap is done. Fortunately, they can be fixed or corrected. Here’s how:
- Small Bubbles: As for the small bubbles, one must put a pin into the vicinity of the bubble and then, using a squeegee, remove the air.
- Large Bubbles: For big bubbles, warm the vinyl by using the heat gun and then flatten it using the squeegee.
Do not forget that elimination or removal of bubbles will be effective in ensuring a perfect vinyl wrap finish.

Preventive Measures to Ensure a Flawless Vinyl Wrap:
Here is a profound saying, prevention is better than cure. To avoid bubbles in the first place, follow these tips:
- Work Slowly: Undue pressure for application is the fastest way of creating bubbles. It will take time but make sure that you are working on smoothing the vinyl as you apply it.
- Apply Heat: It is advisable to use heat when applying the vinyl since it will not allow formation of bubbles.
- Keep the Area Clean: In this battle, dust and dirt will be your direct opponents. Erase any dust on the workspace as well as the car surface before starting out the process.
If you follow the advice listed above, you will be able to avoid the formation of bubbles on the vinyl wrap.
Maintaining Your Vinyl Wrap:
After your vinyl wrap installation, you need to understand how you can maintain it in order to make it last long. Here are some maintenance tips:
- Regular Cleaning: Wash your car with mild soap and water to keep it clean. Do not use chemicals that may be abrasive to the wrap and thus lead to its deterioration.
- Avoid Direct Sunlight: Eventually, the effects of heat and U.V rays could make the vinyl to fade or deform. So, try to park your car in shaded areas.
- Be Gentle: In washing your car, do it in a careful manner. Excessive rubbing may damage the vinyl by causing the edges to curl up or by forming new bubbles.
If you follow these care tips, you shall be able to maintain your vinyl wrap smooth and shiny for as long a time as possible.
When to Seek Professional Help:
Yes, DIY wrapping can be a fun project, but sometimes it is best to hire a professional. If there are many bubbles or if you don’t feel that you are up for it, then it is best to consult a professional. Professional vinyl wrap installation is also beneficial because it provides a perfect finish without having to correct unnecessary mistakes. Furthermore, it may be useful to involve a professional if the wrap is badly damaged or has significant bubbles.
Conclusion:
Overall, getting a bubble-free vinyl wrap takes careful preparation, time, and appropriate equipment. Starting from the motion of wiping the surface to the placement of the wrap, each step counts. For that reason, the tips and tricks outlined above will guide you towards a smooth vinyl wrap installation and perfect finish. Oh, and lastly, if you are in doubt, it is always wise to call a professional to install the wrap.
Thinking about changing the appearance of your car? Follow these expert tips for a perfect vinyl wrap finish or better yet seek the services of a professional for the best outcomes.
FAQs:
Why do bubbles form in vinyl wrap, and how can I prevent them?
They occur when applying the material and the bubbles are formed due to trapped air. To avoid them, work slowly, heat it and use a squeegee to level the vinyl adequately.
What tools do I need for a smooth vinyl wrap application?
Necessary items include squeegee, heat gun, sharp knife, and gloves when working on the vinyl.
Can bubbles in vinyl wrap be removed after installation?
Yes, small bubbles can be removed by simply pinching them with a pin and then flattening over the bubble. For larger bubbles, first heat the vinyl and then you can easily smoothen the appearance of the bubble.
How do I prepare my car’s surface for vinyl wrap installation?
In preparing the surface make sure to wash it to clean it of any dirt, dust and grease. Ensure that the car is dry, and ensure that the working environment is clean of dust.
When should I seek professional help for a vinyl wrap application?
Larger bubbles or any form of damage discovered after the completion of the application or if one has low expertise in wrapping the car, is allowed to seek service from a professional.
